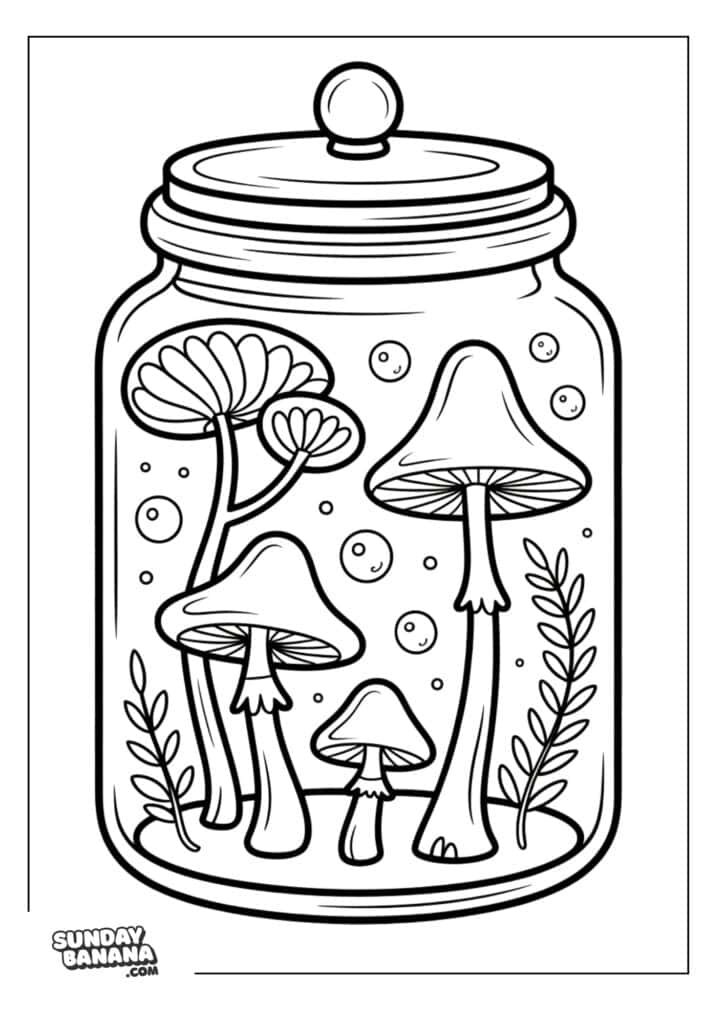
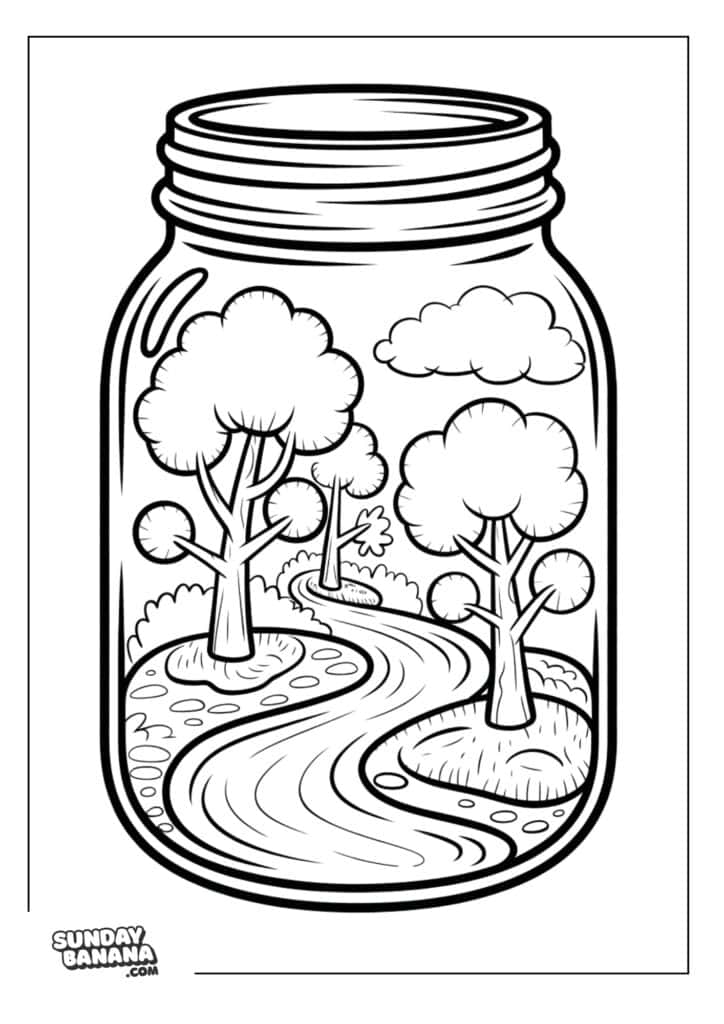
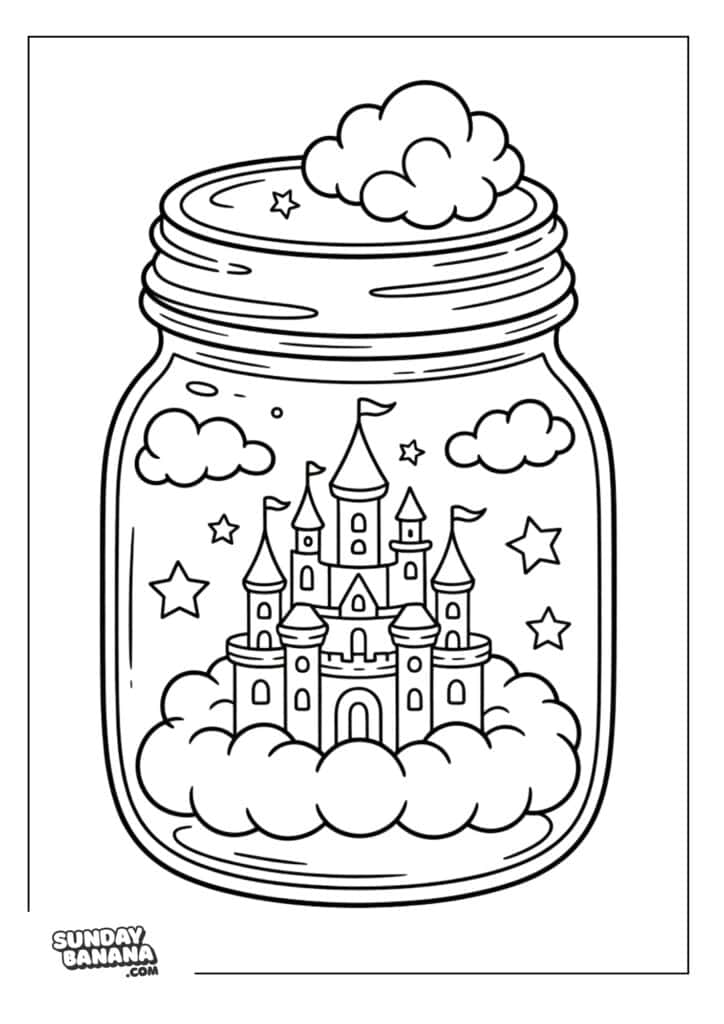
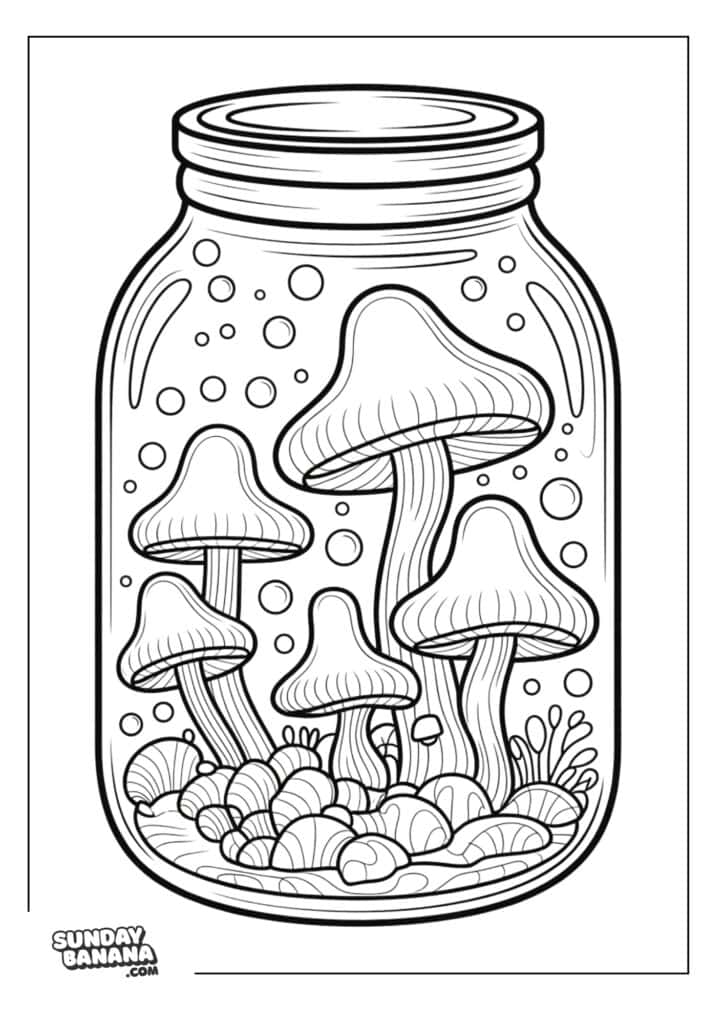
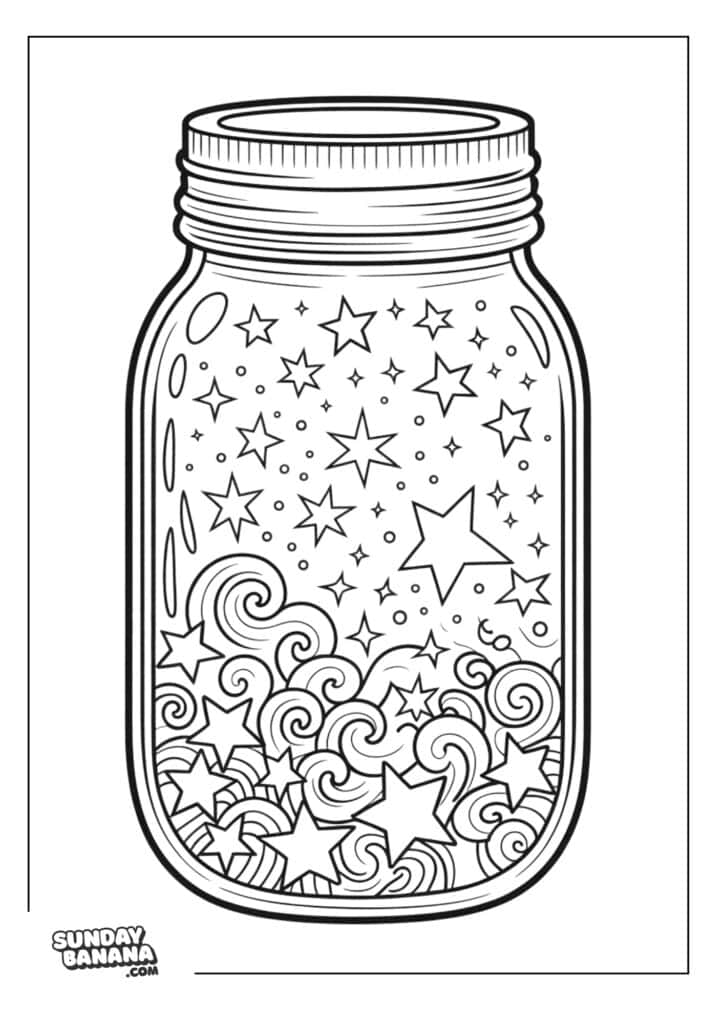
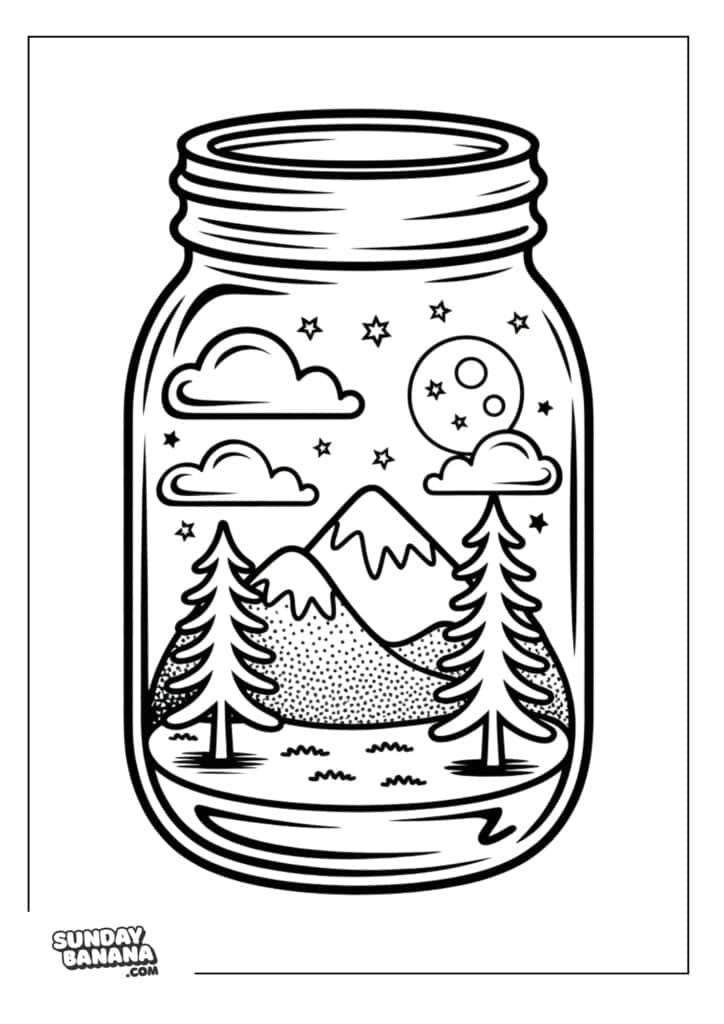
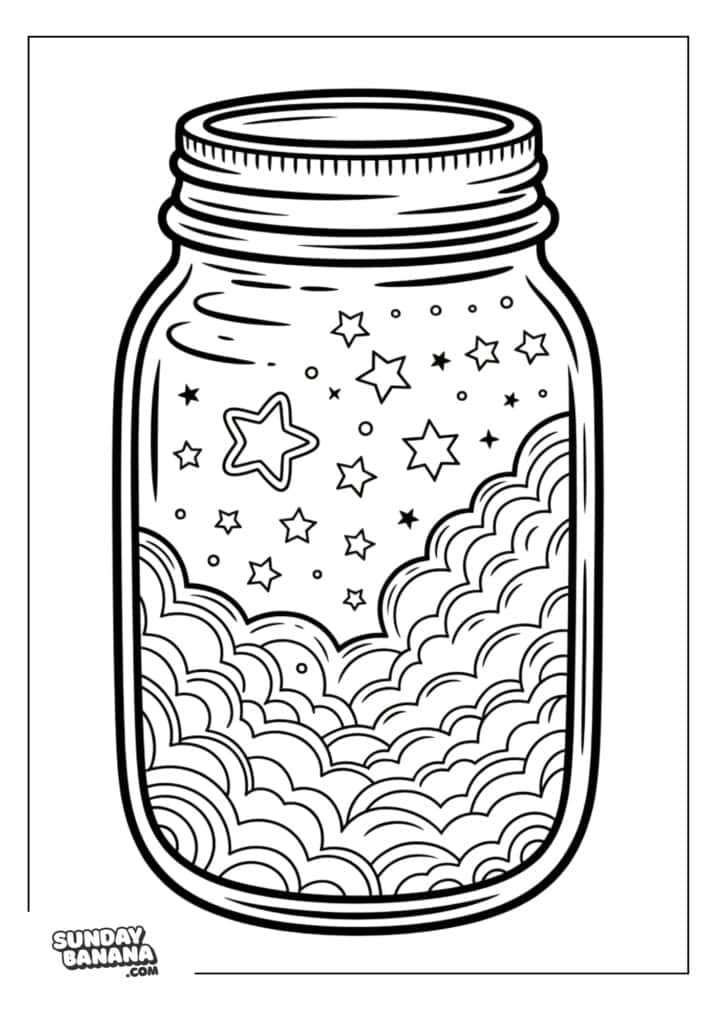
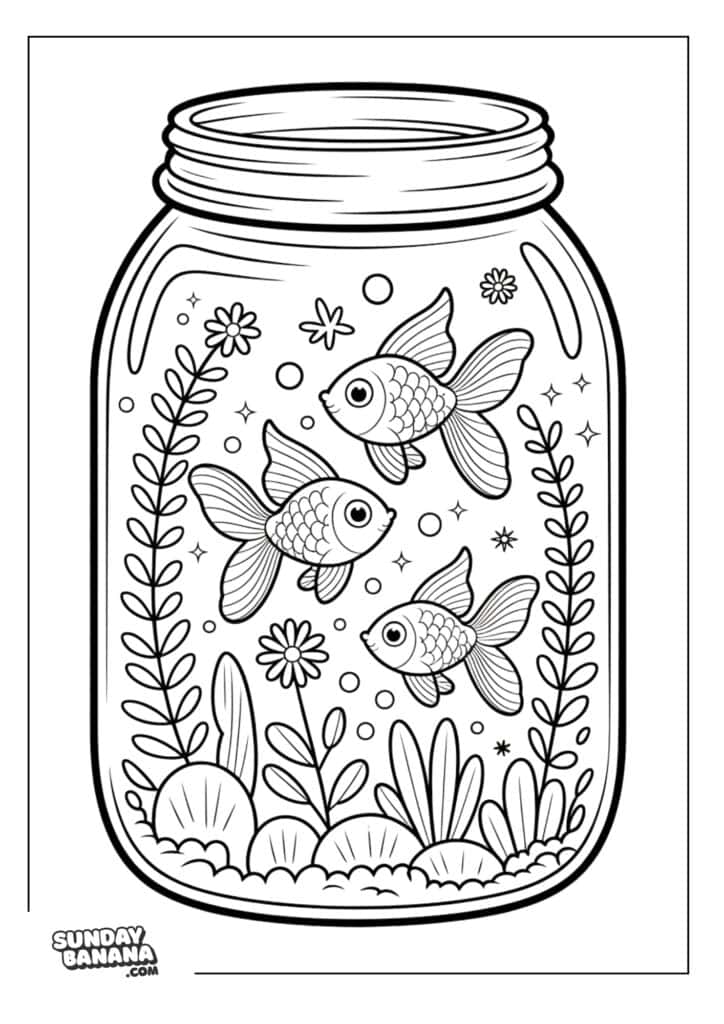
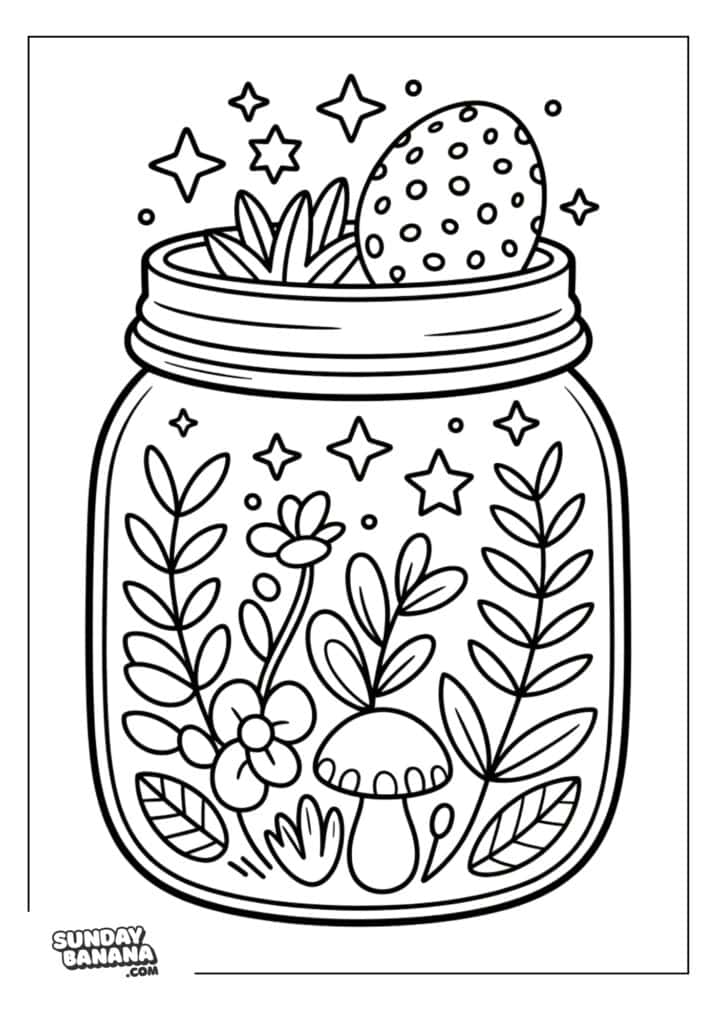
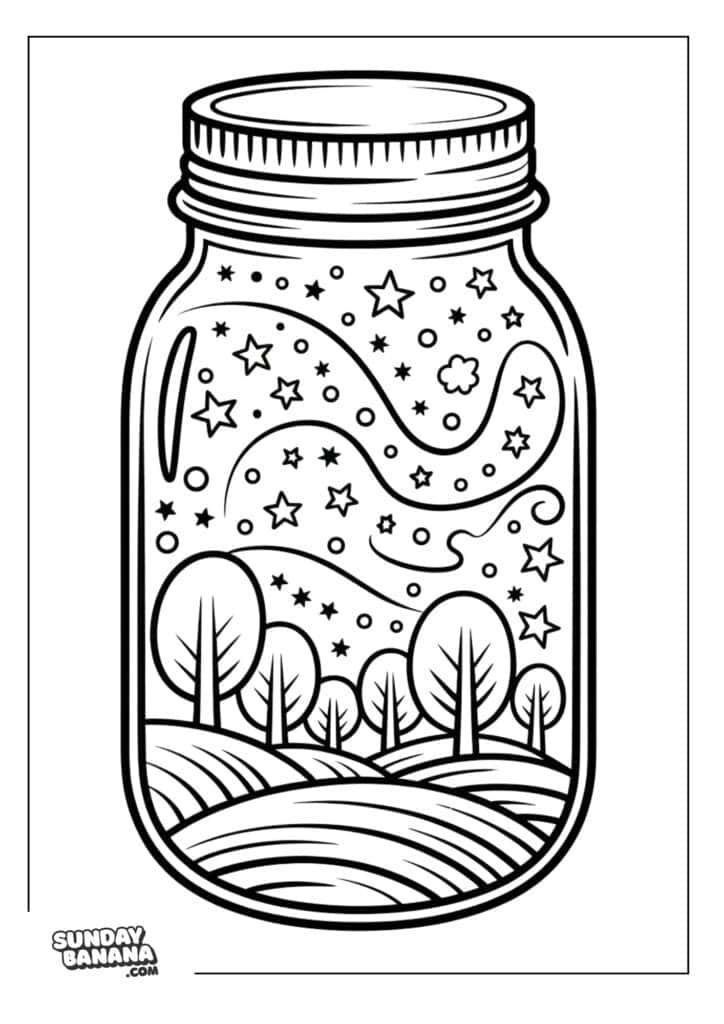
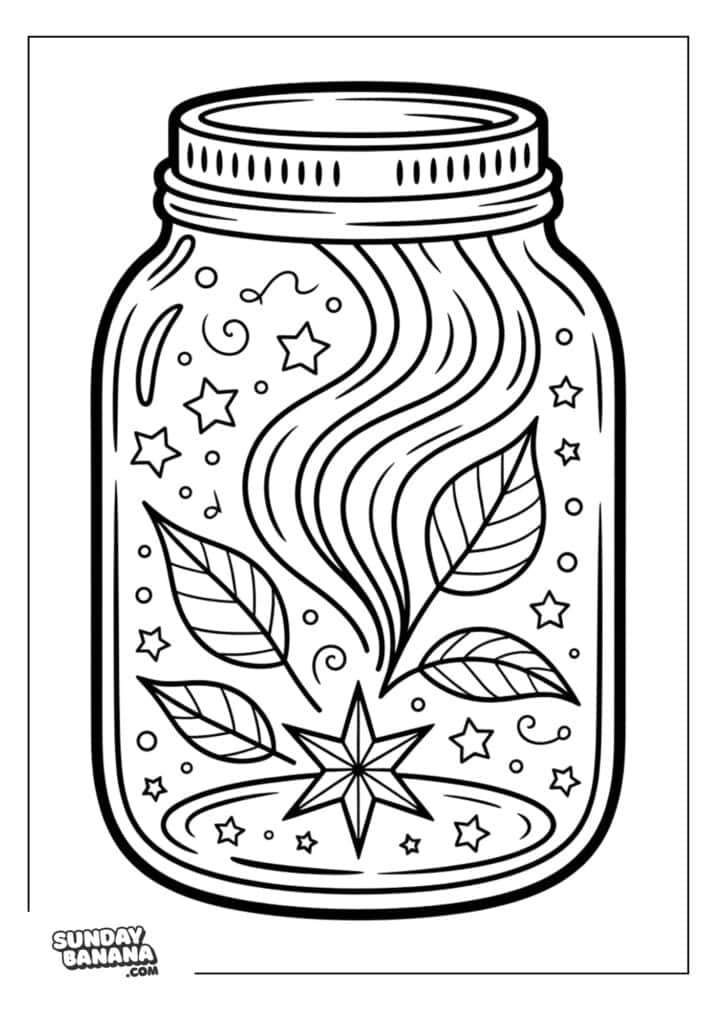
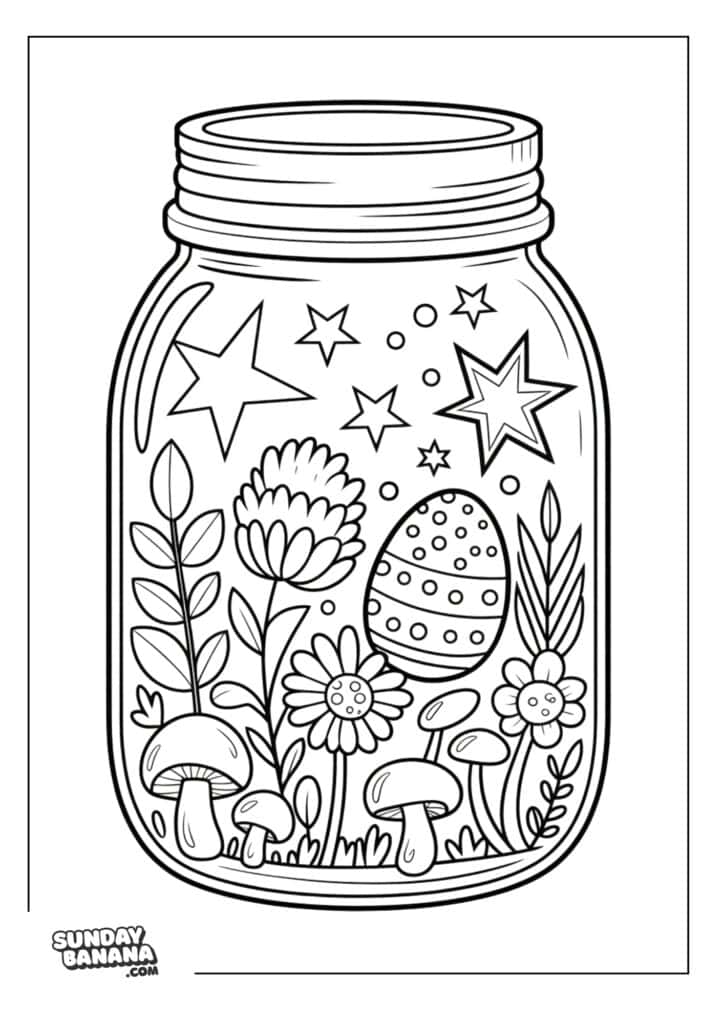
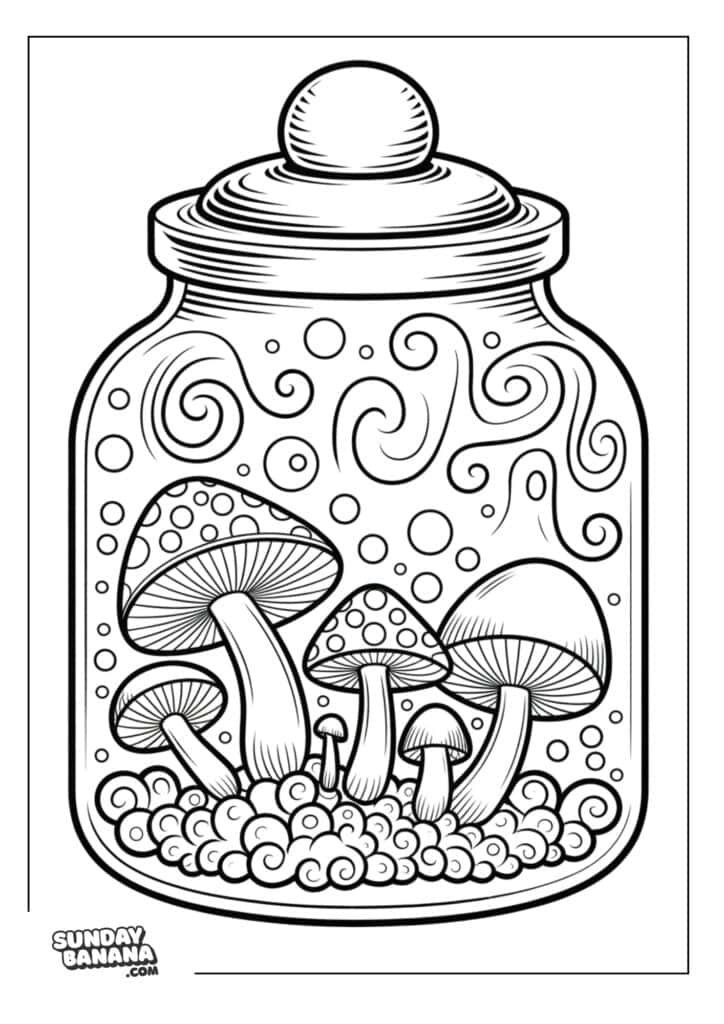
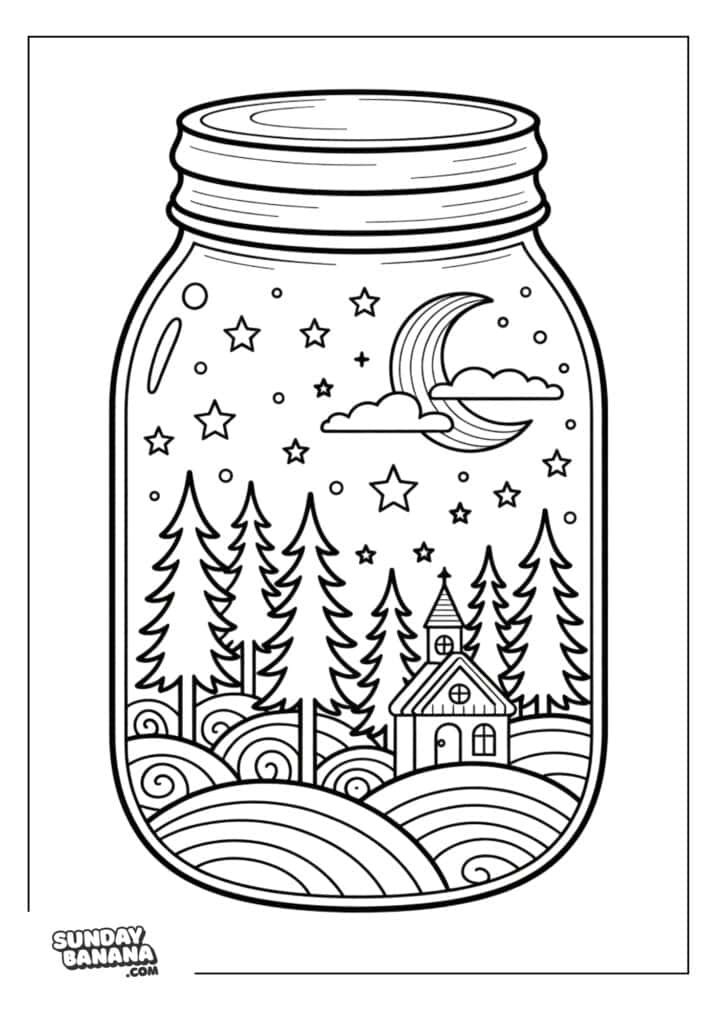
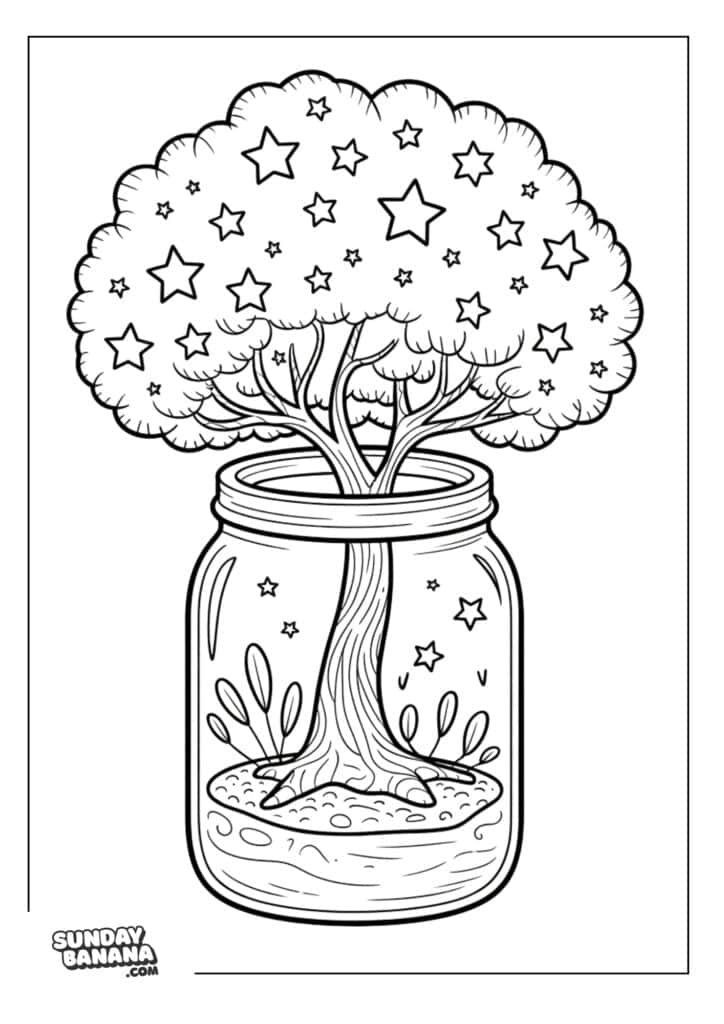
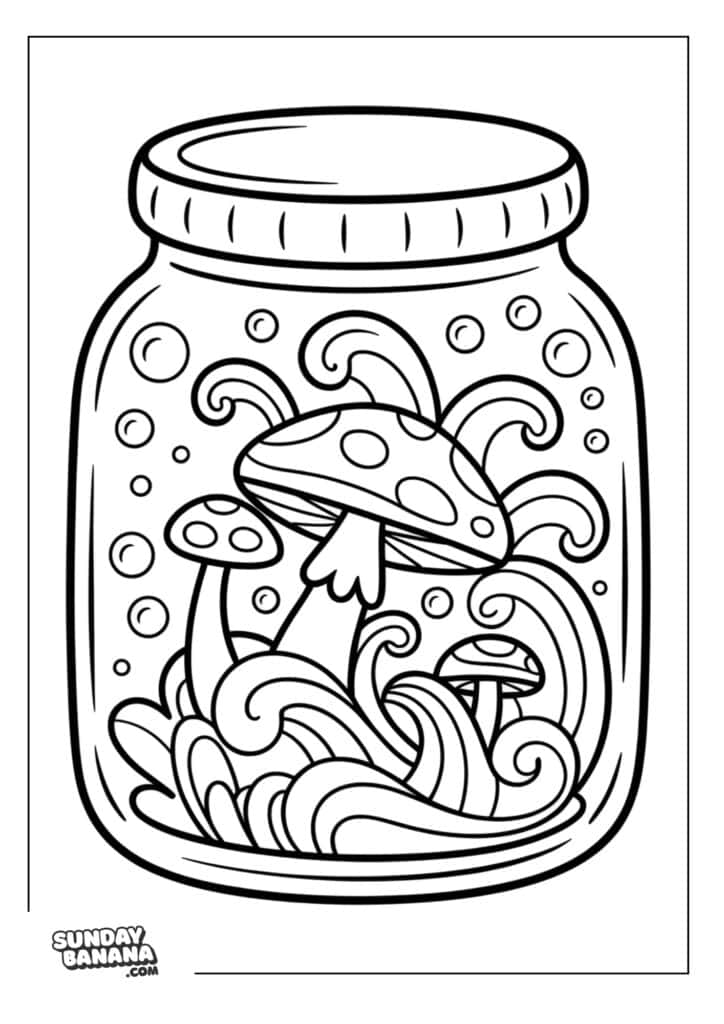
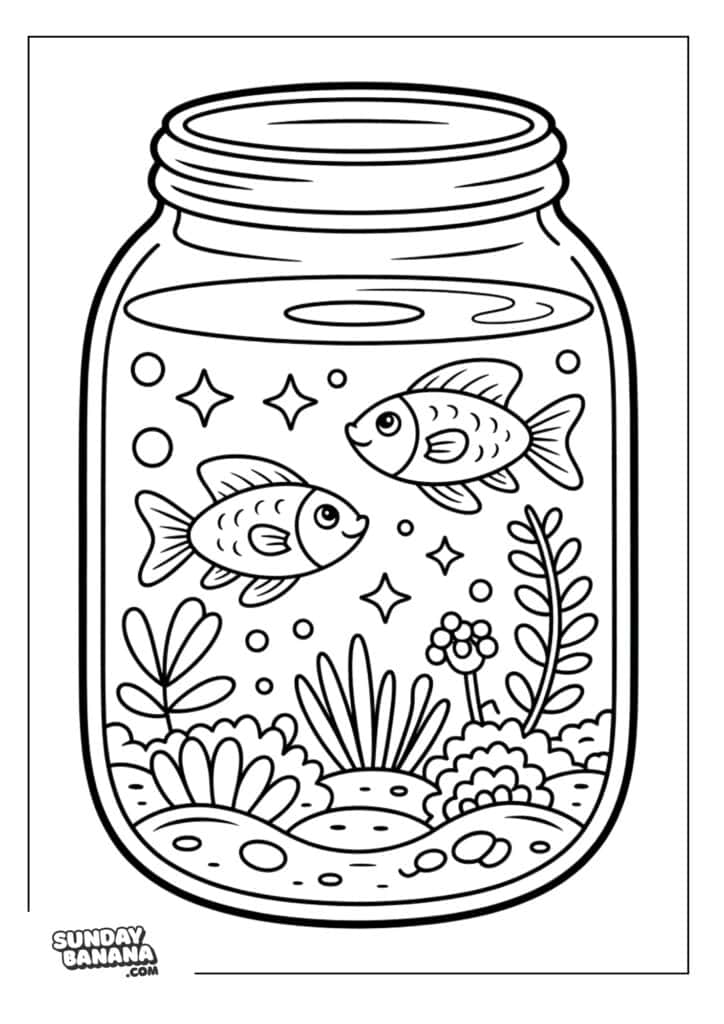
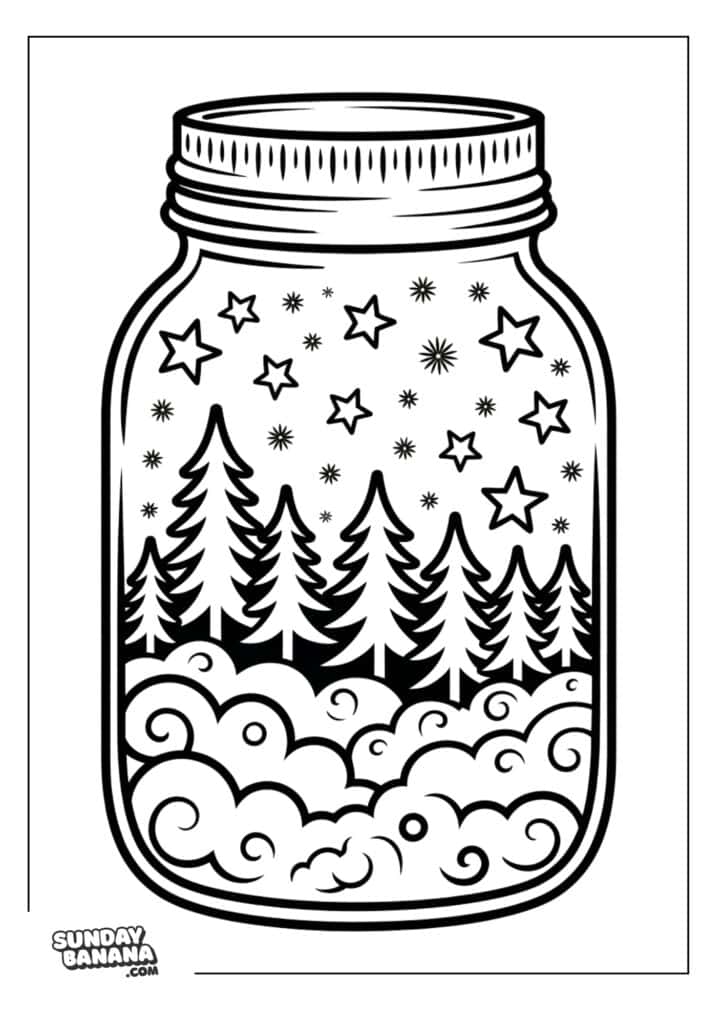
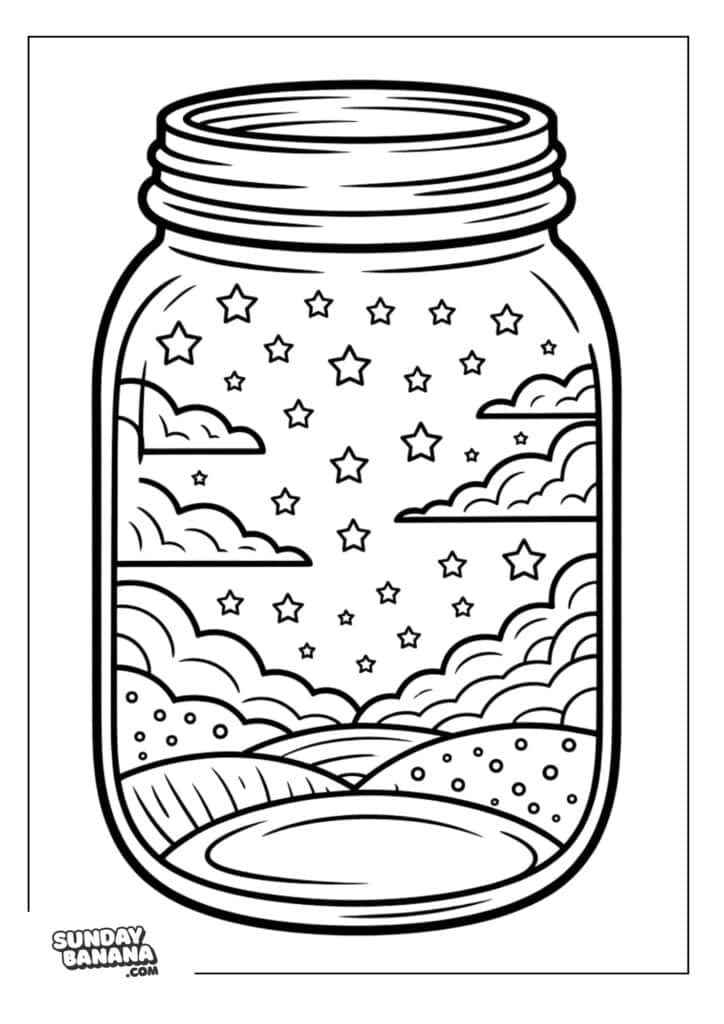
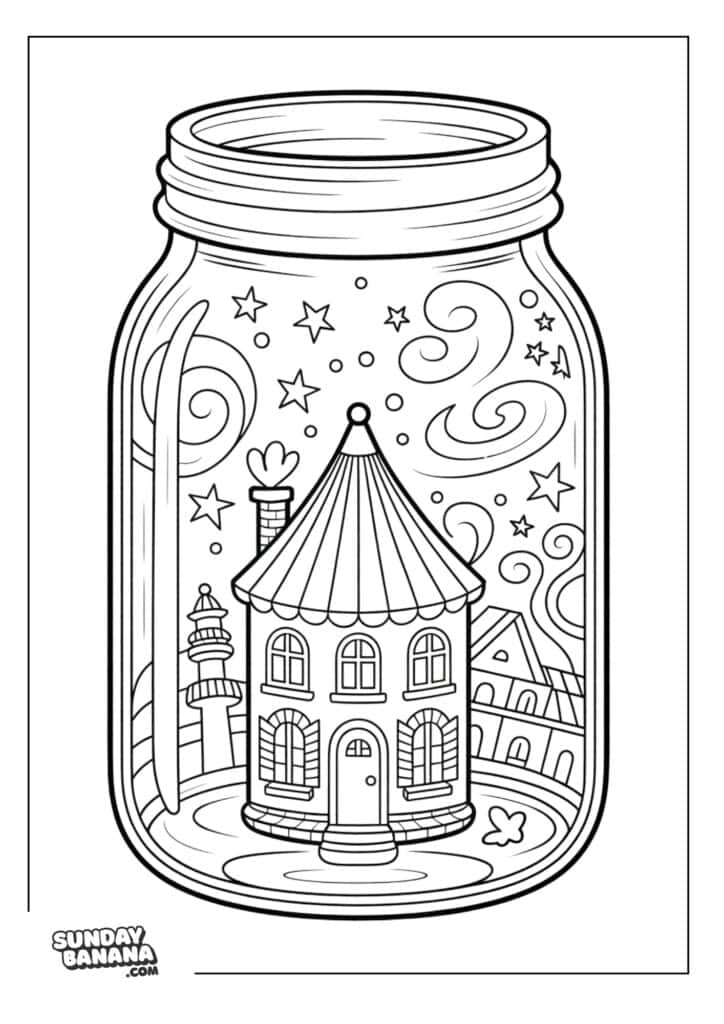
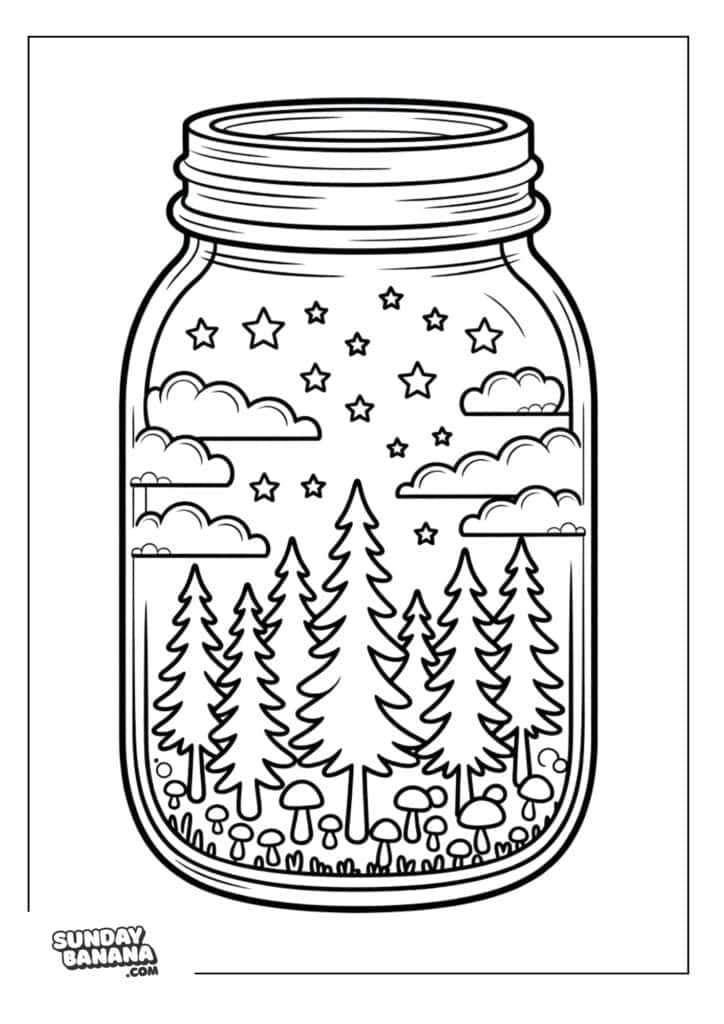
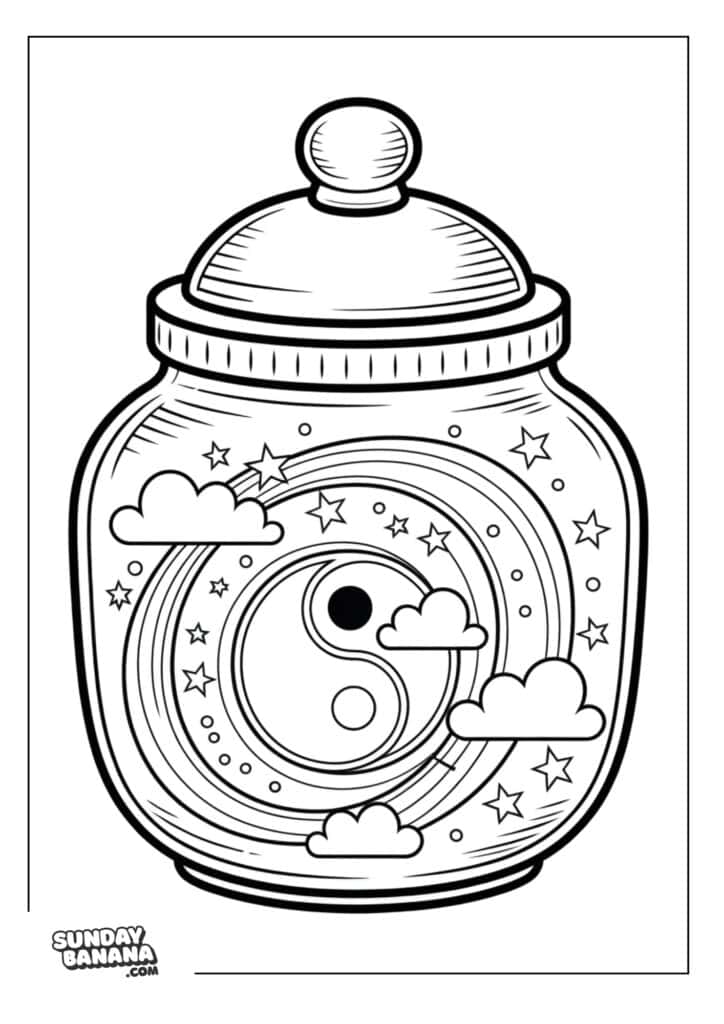
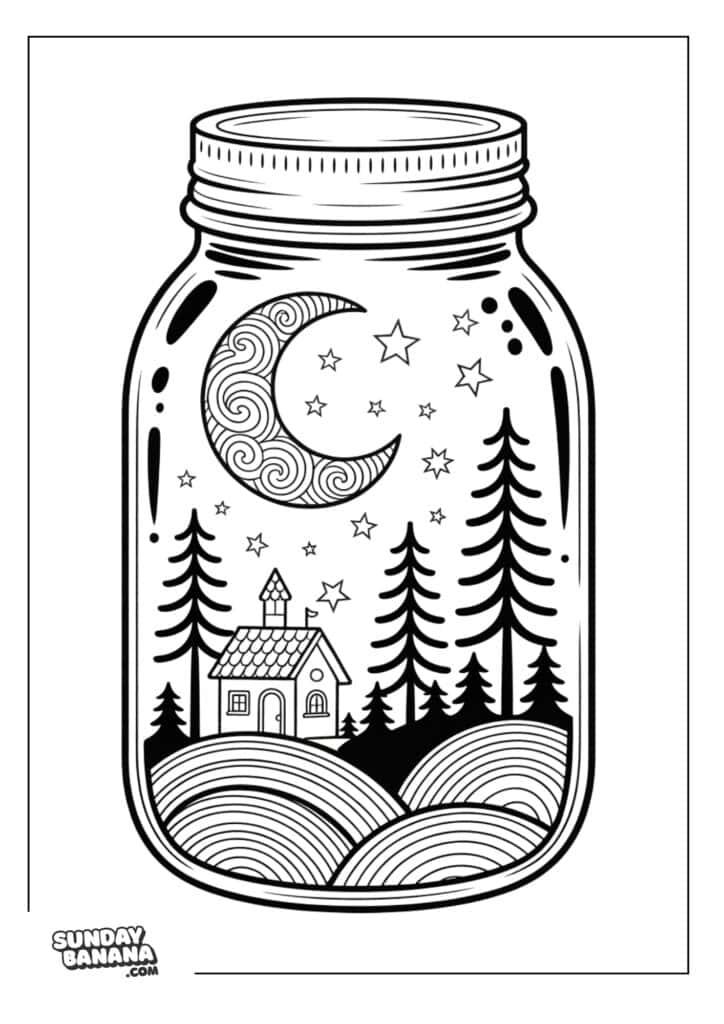
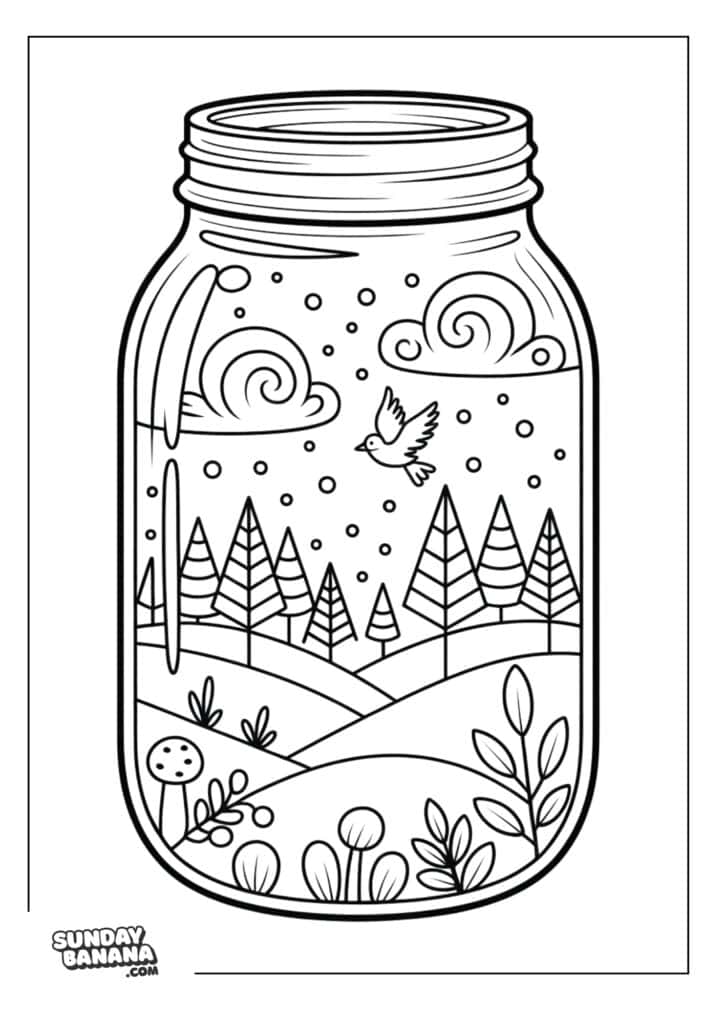
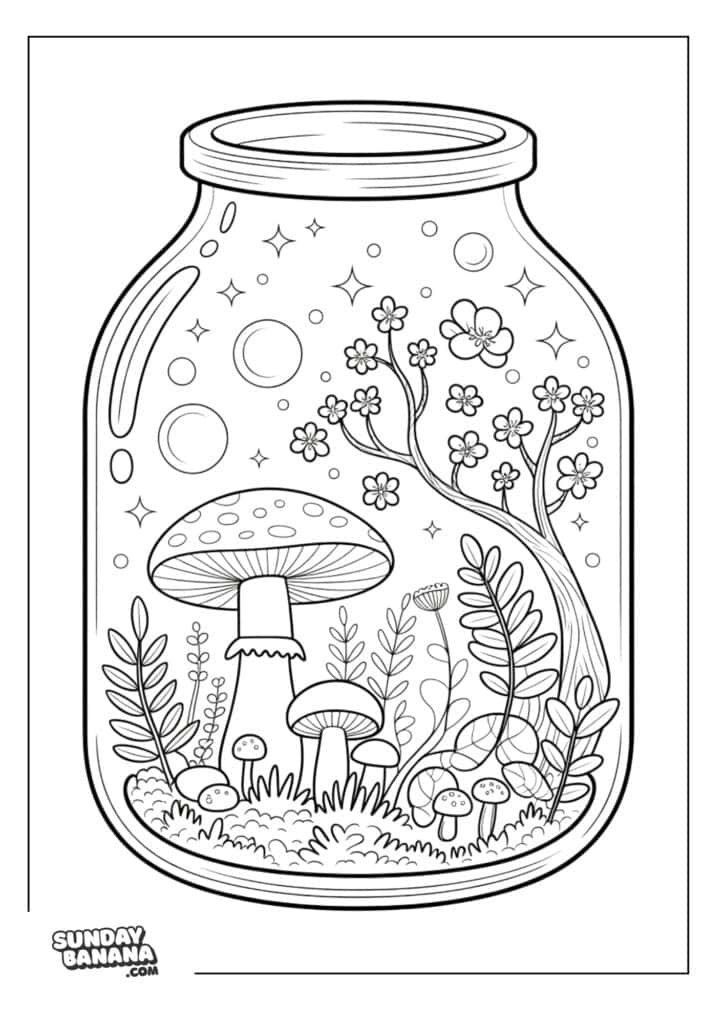
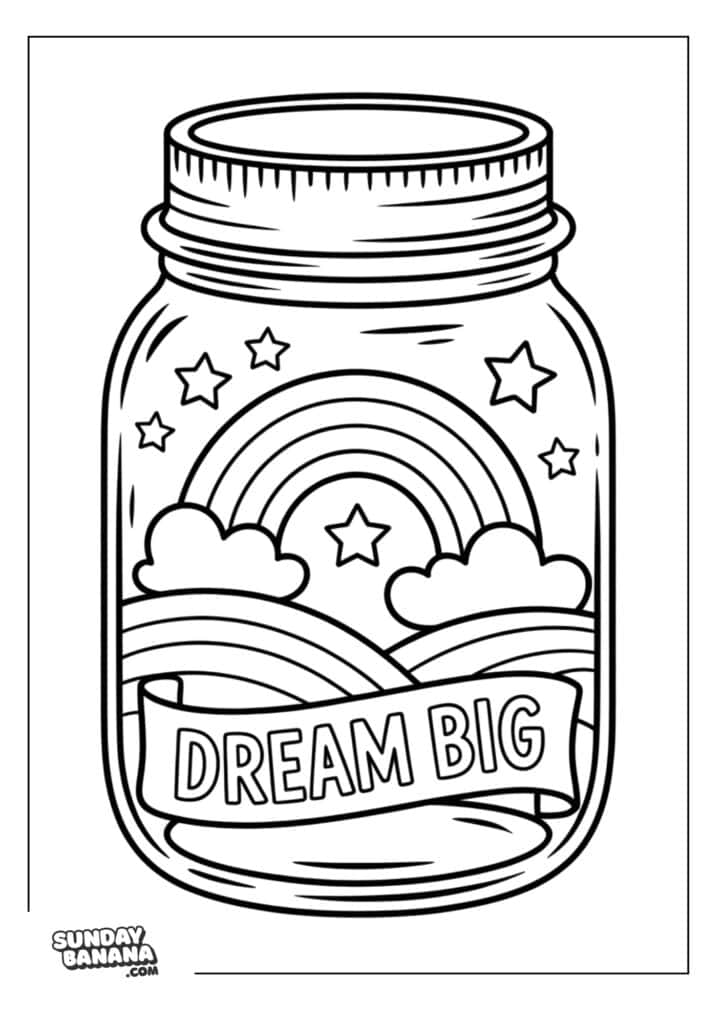
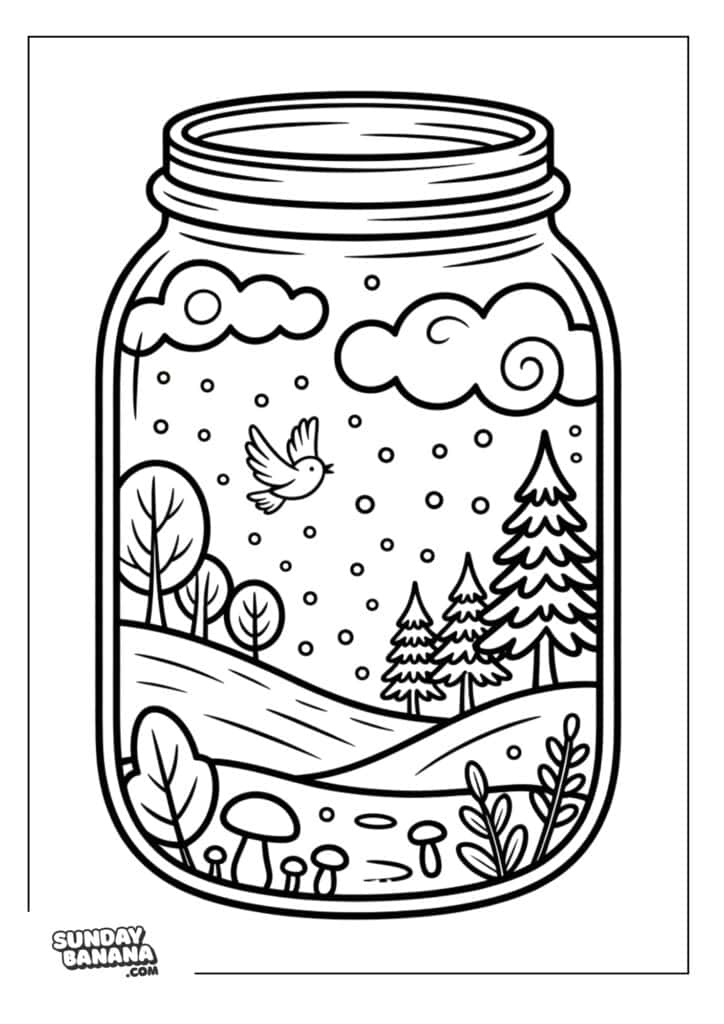
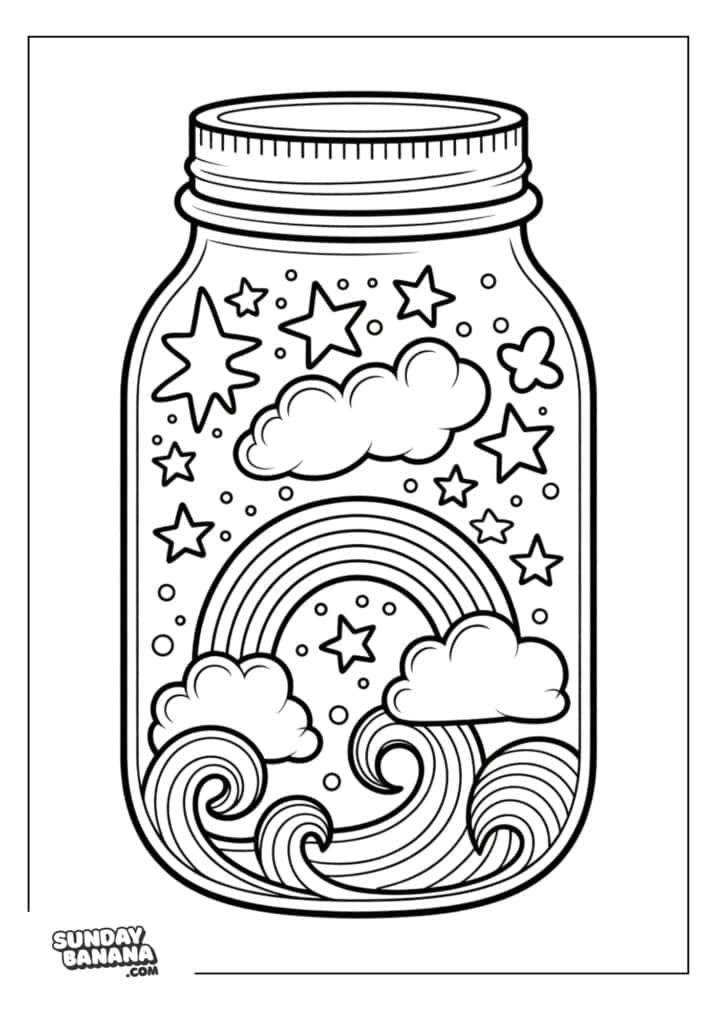
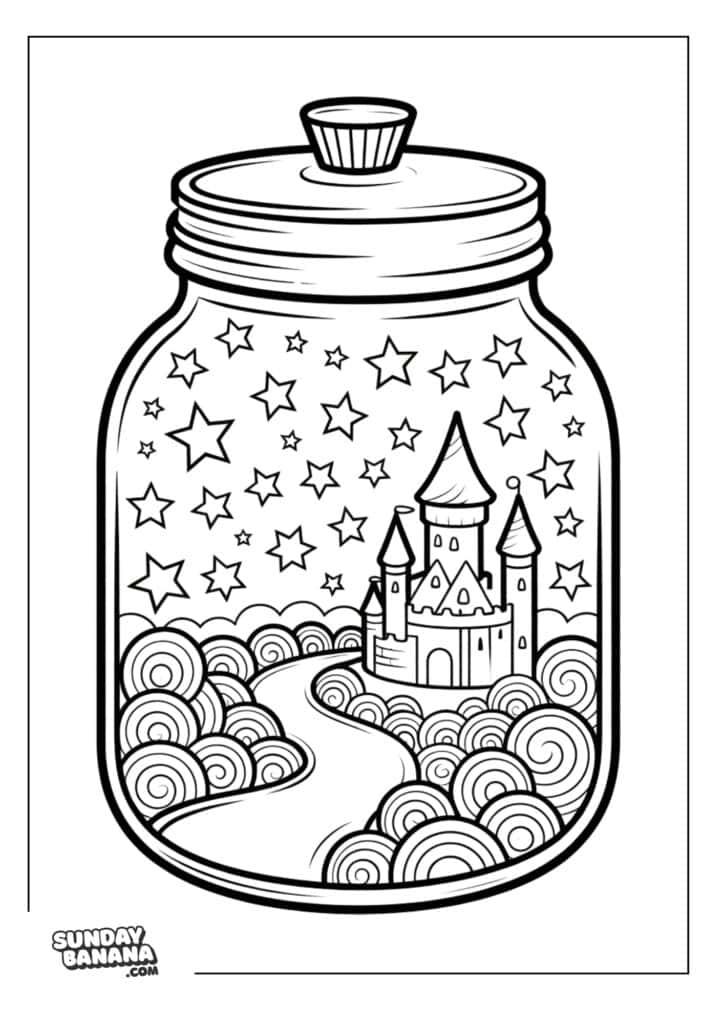
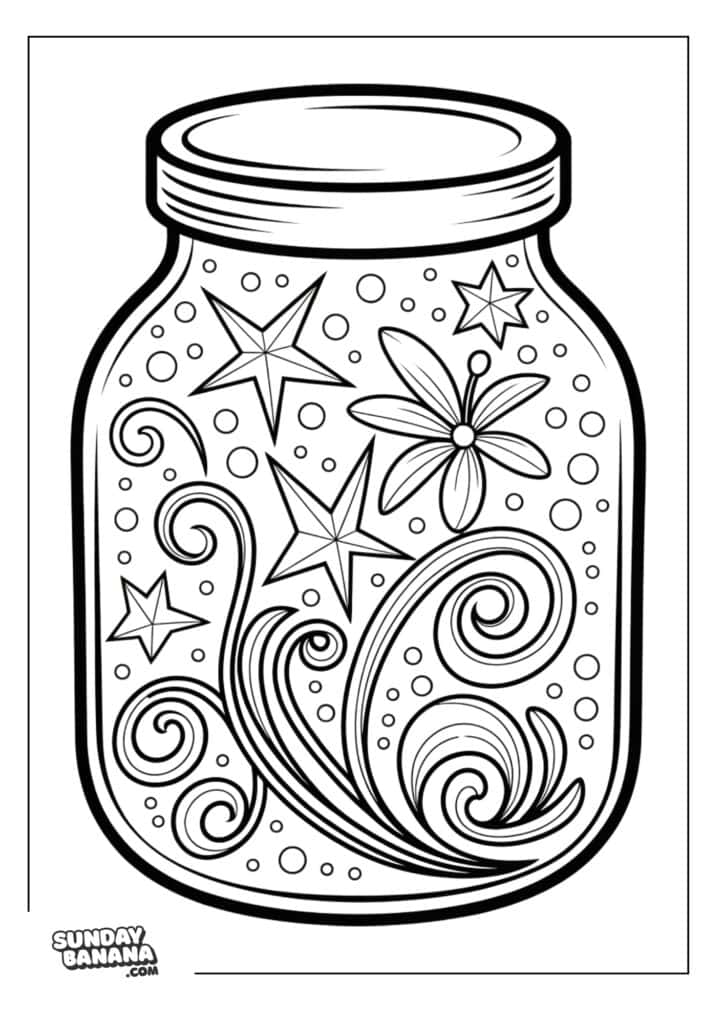
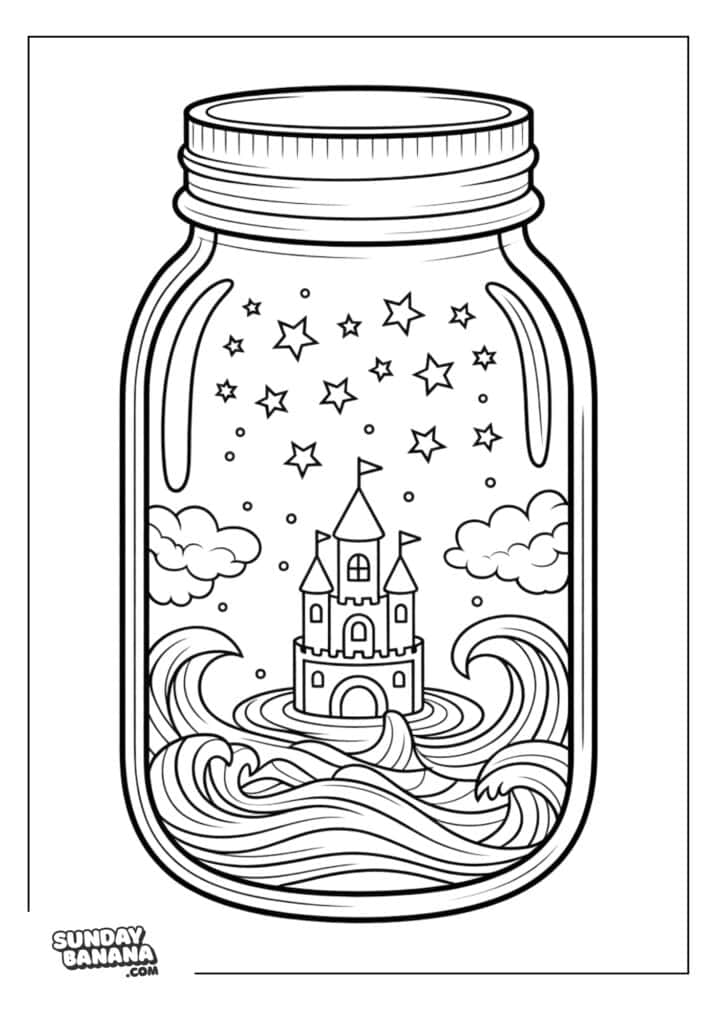
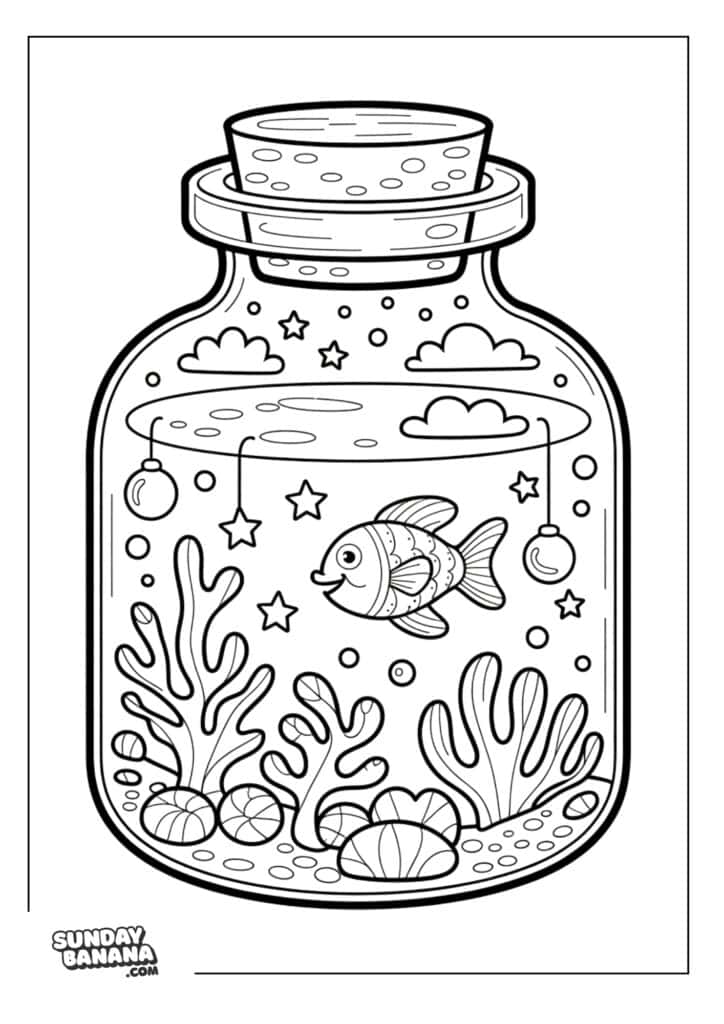
Magic Jar coloring pages are basically the grown-up version of playing pretend, except nobody can judge you for believing in fairy dust at 2 AM! These whimsical free printable coloring pages feature adorable glass jars packed with everything from tiny mushroom villages to floating pizza slices (hey, magic comes in all flavors).
Who says adulting can’t include a little pixie dust and some serious coloring session therapy? These detailed magical jar coloring sheets are perfect for when you want to feel like a wizard but your biggest superpower is remembering to water your plants.
Let’s be real – we all need more magic in our lives, and these free coloring pages deliver without requiring a Hogwarts acceptance letter! Our Magic Jar printable coloring pages turn your kitchen counter into an enchanted art studio where the only potion you’re brewing is pure happiness mixed with colored pencil shavings.
From jars filled with miniature galaxies to bottles containing sleepy dragons, each free printable design gives you permission to be wonderfully weird while your stress magically disappears. Plus, it’s way cheaper than actual therapy and comes with zero judgment about your crayon collection!
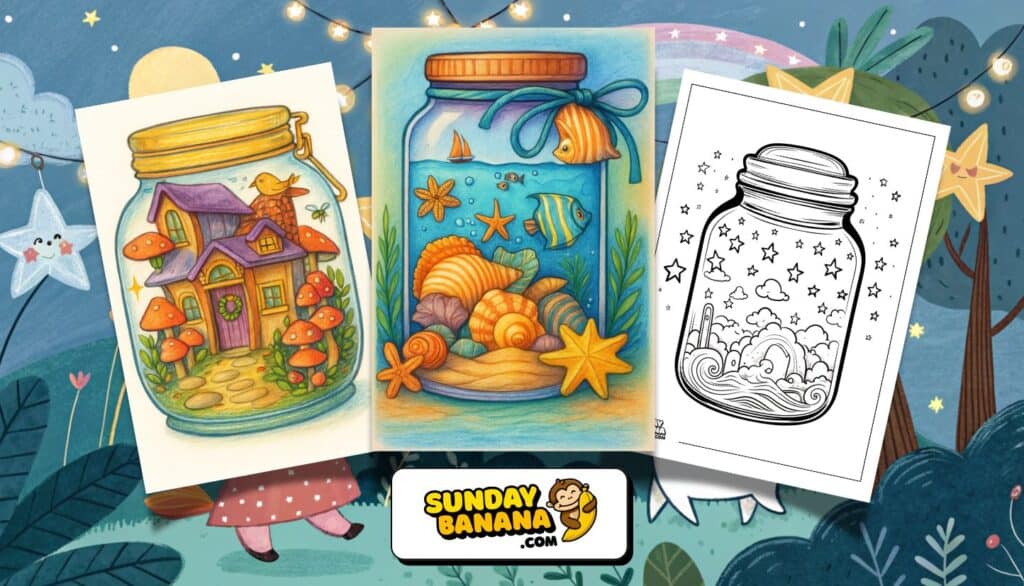
To start coloring, click on any of the below images or links to open the free PDF. Once opened, you can then download or print as many pages as you like.
All of the below pages are on A4 sized paper, but they also scale perfectly onto US-letter paper too! Happy coloring!
More Magic Jar Coloring Pages Coming Soon!
More Free Printable Coloring Pages
Want more super cool coloring stuff that kids go crazy for? Check out our awesome coloring page collections! They’re totally fun and packed with pictures just waiting for your crayons and markers to make them pop!
13 Fun Crafts To Do Together With Magic Jar Coloring Pages
1. Galaxy Magic Jar with Glitter
Create a mesmerizing galaxy universe inside a mason jar using simple household materials perfect for children aged 13 and below!
Materials:
- Clear mason jar or glass container
- Cotton balls for cloud effects
- Silver and gold glitter
- Blue and purple food coloring
- Clear glue or corn syrup
- LED tea lights (battery-operated)
- Water
- Small star stickers
Age Range: 6-13 years
Instructions:
- Fill your magic jar halfway with water and add 2-3 drops each of blue and purple food coloring for galaxy colors.
- Mix in 2 tablespoons of clear glue to create a thick, swirling consistency perfect for magic jar crafts.
- Add generous amounts of silver and gold glitter to simulate twinkling stars and cosmic dust.
- Stretch cotton balls and layer them inside the jar to create realistic cloud formations.
- Place LED tea lights at the bottom before sealing to illuminate your galaxy magic jar creation.
- Shake gently and watch your DIY magic jar come alive with swirling galaxy effects!
2. Fairy House Magic Jar Night Light
Build an enchanting fairy dwelling inside a mason jar using natural materials and household items for magical bedtime stories.
Materials:
- Wide-mouth mason jar
- Small twigs and branches from yard
- Moss or green felt scraps
- Battery-operated string lights
- Small pebbles or aquarium gravel
- Aluminum foil for windows
- Hot glue gun (adult supervision required)
- Craft foam sheets
Age Range: 8-13 years
Instructions:
- Create a fairy house foundation using small pebbles in your magic jar base.
- Build fairy house walls by gluing twigs vertically around the jar’s interior sides.
- Add moss or green felt pieces to simulate a magical fairy garden environment.
- Cut tiny aluminum foil squares and attach as fairy house windows that catch light.
- Thread battery-operated string lights throughout the fairy house structure for enchanting illumination.
- Seal your fairy magic jar and place it as a nightlight for magical bedtime ambiance.
3. Ocean Wave Magic Jar Sensory Bottle
Design a calming ocean-themed sensory magic jar using kitchen ingredients perfect for stress relief and imaginative play.
Materials:
- Clear plastic jar with tight lid
- Blue and green food coloring
- Baby oil or mineral oil
- Water
- Silver glitter for ocean sparkle
- Small seashells or buttons
- Liquid dish soap
- Measuring cups
Age Range: 4-13 years
Instructions:
- Fill your magic jar one-third full with water tinted with blue and green food coloring.
- Add 5-6 drops of liquid dish soap to create realistic ocean foam effects.
- Pour baby oil slowly to fill the remaining two-thirds of your ocean magic jar.
- Sprinkle silver glitter and add small seashells to enhance the underwater theme.
- Seal tightly and test your ocean wave magic jar by tilting slowly side to side.
- Watch mesmerizing wave motions perfect for calming sensory magic jar activities.
4. Weather Magic Jar Science Experiment
Create an interactive weather station magic jar that demonstrates cloud formation using simple kitchen science materials.
Materials:
- Large mason jar
- Hot water (adult supervision)
- Ice cubes in plastic bag
- Blue food coloring
- Shaving cream
- Small plastic dropper or spoon
- Clear plastic wrap
- Rubber band
Age Range: 7-13 years
Instructions:
- Fill your magic jar one-quarter full with hot water (adult help required for safety).
- Add 2-3 drops of blue food coloring to represent atmospheric conditions.
- Top with a thick layer of shaving cream to simulate realistic cloud formations.
- Place ice-filled plastic bag on top of your weather magic jar to create temperature contrast.
- Cover with plastic wrap secured by rubber band to contain your weather experiment.
- Observe how your DIY magic jar creates precipitation as condensation forms and “rains” down.
5. Unicorn Dreams Magic Jar with Slime
Craft a sparkly unicorn-themed magic jar filled with stretchy, colorful slime using common household ingredients.
Materials:
- Clear mason jar
- White school glue
- Contact lens solution (containing boric acid)
- Rainbow food coloring set
- Iridescent glitter
- Unicorn stickers or foam shapes
- Shaving cream for fluffy texture
- Mixing bowl and spoon
Age Range: 6-13 years
Instructions:
- Mix 4 oz white school glue with 2-3 pumps of shaving cream in bowl for fluffy unicorn slime base.
- Add rainbow food coloring drops to create magical unicorn color combinations.
- Sprinkle generous amounts of iridescent glitter for sparkly unicorn magic effects.
- Slowly add contact lens solution while stirring until slime forms and pulls away from bowl.
- Transfer your unicorn slime into the magic jar and decorate exterior with unicorn stickers.
- Seal and enjoy squishing your unicorn dreams magic jar for sensory play.
6. Time Capsule Memory Magic Jar
Design a personalized time capsule magic jar to preserve special memories using household containers and family photos.
Materials:
- Wide mason jar with lid
- Small notebooks or paper
- Family photos (copies)
- Colored pens and markers
- Small toys or trinkets
- Ribbon and decorative tape
- Laminating pouches (optional)
- Current newspaper or magazine
Age Range: 8-13 years
Instructions:
- Select meaningful items that represent current interests for your memory magic jar.
- Write letters to your future self describing current hobbies, friends, and dreams.
- Include family photos and newspaper clippings showing current events and trends.
- Layer items carefully in your time capsule magic jar with oldest memories at bottom.
- Decorate the exterior with ribbon and tape to create a beautiful keepsake magic jar.
- Seal with a note indicating when to open your family memory magic jar.
7. Volcano Eruption Magic Jar Experiment
Build an exciting volcanic eruption inside a magic jar using safe kitchen chemistry for educational STEM fun.
Materials:
- Tall mason jar
- Baking soda
- White vinegar
- Red and orange food coloring
- Liquid dish soap
- Small plastic cup
- Measuring spoons
- Paper towels for cleanup
- Safety goggles (recommended)
Age Range: 6-13 years
Instructions:
- Place small plastic cup in center of your magic jar to create volcano crater shape.
- Add 2 tablespoons baking soda and few drops red food coloring to the cup.
- Surround cup with paper towel “rocks” to build realistic volcano landscape in magic jar.
- Mix white vinegar with orange food coloring and 1 teaspoon dish soap in separate container.
- Pour vinegar mixture into baking soda cup and watch your volcano magic jar erupt dramatically.
- Repeat your volcano experiment magic jar for continuous educational entertainment.
8. Butterfly Garden Magic Jar Terrarium
Create a miniature butterfly habitat magic jar using artificial plants and decorative elements from around the house.
Materials:
- Large glass jar with wide opening
- Artificial flowers and small plants
- Colored sand or aquarium gravel
- Plastic butterfly decorations
- Small mirror pieces for pond effect
- Craft moss or green felt
- Hot glue gun (adult supervision)
- Small decorative stones
Age Range: 7-13 years
Instructions:
- Layer colored sand at bottom of your magic jar to create garden foundation.
- Arrange artificial plants and flowers to simulate realistic butterfly garden habitat.
- Add small mirror pieces to represent garden pond in your butterfly magic jar.
- Glue craft moss around plants to enhance natural garden appearance.
- Position plastic butterflies throughout your garden scene for magical effect.
- Seal your butterfly garden magic jar and display as decorative nature centerpiece.
9. Glow-in-the-Dark Magic Jar Potion
Mix a mysterious glowing potion magic jar using safe glow-in-the-dark materials and household liquids.
Materials:
- Clear mason jar
- Glow-in-the-dark paint (non-toxic)
- Tonic water (contains quinine)
- Black light flashlight or UV light
- Green food coloring
- Clear glue or corn syrup
- Glitter (optional)
- Measuring cups
Age Range: 8-13 years
Instructions:
- Mix tonic water with few drops green food coloring in your magic jar for glowing base.
- Add 1 tablespoon clear glue to create thick, mystical potion consistency.
- Stir in small amount of non-toxic glow-in-the-dark paint for enhanced luminescence.
- Add glitter if desired for extra magical sparkle effects in your potion magic jar.
- Seal jar and charge under bright light for 10 minutes before viewing.
- Use black light flashlight to activate incredible glowing effects in your magic jar potion.
10. Snow Globe Magic Jar Winter Scene
Construct a personalized snow globe magic jar featuring miniature winter wonderland scenes using craft supplies.
Materials:
- Small mason jar with tight lid
- Glycerin (available at pharmacy)
- Distilled water
- White glitter or artificial snow
- Small plastic figures or toys
- Waterproof glue or epoxy
- Food coloring (blue for winter sky)
- Measuring spoons
Age Range: 6-13 years
Instructions:
- Glue small plastic figures securely to inside of mason jar lid for snow globe scene.
- Fill magic jar with distilled water leaving 1-inch space at top for movement.
- Add 1 teaspoon glycerin to create slow-falling snow effect in your magic jar.
- Sprinkle white glitter generously to simulate realistic snowfall patterns.
- Add one drop blue food coloring for winter sky atmosphere in snow globe magic jar.
- Seal tightly, flip, and shake to watch magical snowfall in your DIY magic jar creation.
11. Mood Ring Magic Jar Color Changer
Engineer a temperature-sensitive magic jar that changes colors based on environmental conditions using thermochromic materials.
Materials:
- Clear glass jar
- Thermochromic pigment powder (available online)
- Clear nail polish
- Hot and cold water
- Food coloring
- Small thermometer
- Mixing stick
- Protective gloves
Age Range: 10-13 years (with adult supervision)
Instructions:
- Mix thermochromic pigment with clear nail polish to create color-changing paint for magic jar.
- Paint stripes or patterns on exterior of your mood magic jar using the special mixture.
- Allow paint to dry completely before testing temperature sensitivity features.
- Fill jar with room temperature water and observe baseline colors in your magic jar.
- Add hot water (adult supervision) and watch colors shift dramatically in mood magic jar.
- Try cold water to see reverse color changes in your scientific magic jar experiment.
12. Magnetic Magic Jar Science Wonder
Build an interactive magnetic field demonstration magic jar using common household magnets and metal objects.
Materials:
- Plastic jar (for safety)
- Strong neodymium magnets
- Iron filings or steel wool (small pieces)
- Vegetable oil or mineral oil
- Small metal paper clips
- Magnetic wand or strong magnet
- Clear packing tape
- Safety gloves
Age Range: 8-13 years (adult supervision recommended)
Instructions:
- Fill plastic magic jar with vegetable oil leaving space for metal objects to move freely.
- Add small pieces of steel wool and paper clips to your magnetic magic jar.
- Secure strong magnets to outside of jar using clear packing tape for safety.
- Use magnetic wand to control movement of metal objects inside your magic jar.
- Observe how magnetic fields affect different materials in your science magic jar.
- Experiment with multiple magnets to create complex patterns in your magnetic magic jar.
13. Homemade Lava Lamp Magic Jar
Create a mesmerizing lava lamp effect magic jar using simple kitchen ingredients and household materials.
Materials:
- Tall clear jar or bottle
- Vegetable oil
- Water
- Food coloring (red or blue)
- Alka-Seltzer tablets
- Flashlight or lamp for base
- Measuring cups
- Funnel (optional)
Age Range: 5-13 years
Instructions:
- Fill your magic jar one-quarter full with water tinted with bright food coloring.
- Slowly pour vegetable oil to fill remaining three-quarters of your lava lamp magic jar.
- Wait for oil and water to separate completely creating distinct layers.
- Drop half an Alka-Seltzer tablet into your magic jar and watch bubbling lava effects begin.
- Place flashlight or lamp underneath your lava lamp magic jar for dramatic lighting.
- Add more Alka-Seltzer pieces to restart the bubbling action in your homemade magic jar.
Safety Tips for Magic Jar Crafts:
- Always supervise children during craft activities
- Use non-toxic materials appropriate for child’s age
- Ensure proper ventilation when using glues or paints
- Keep small parts away from children under 3 years
- Adult assistance required for hot glue guns and sharp tools
These magical jar craft ideas provide hours of creative entertainment while developing fine motor skills and scientific understanding. Each magic jar project uses common household materials, making them perfect for budget-friendly family activities and educational STEM exploration!
