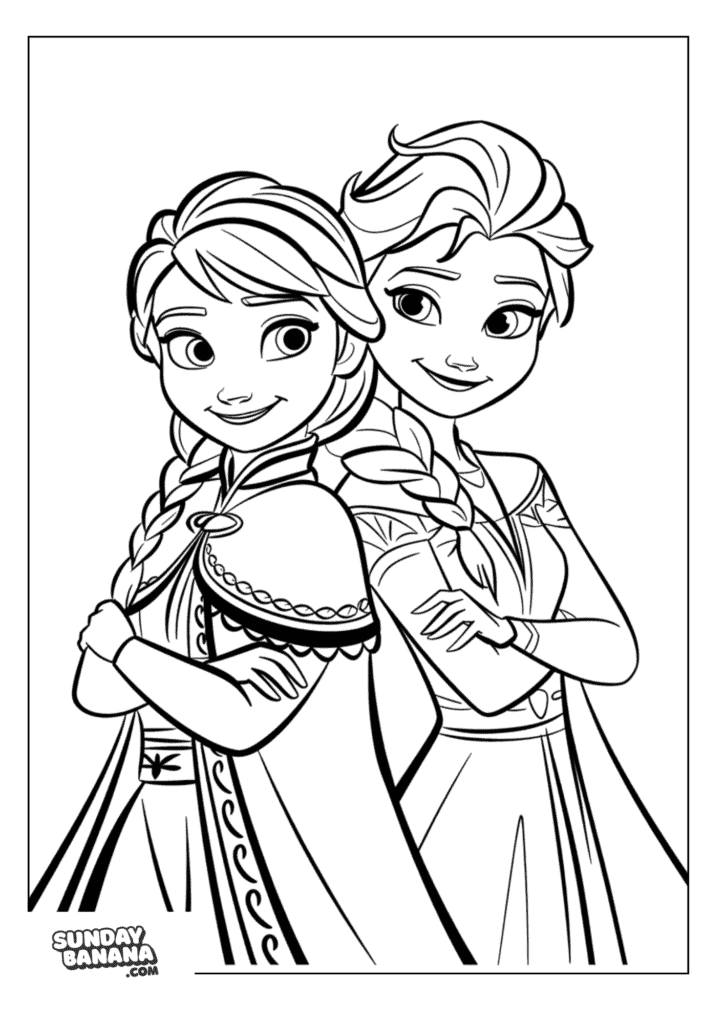
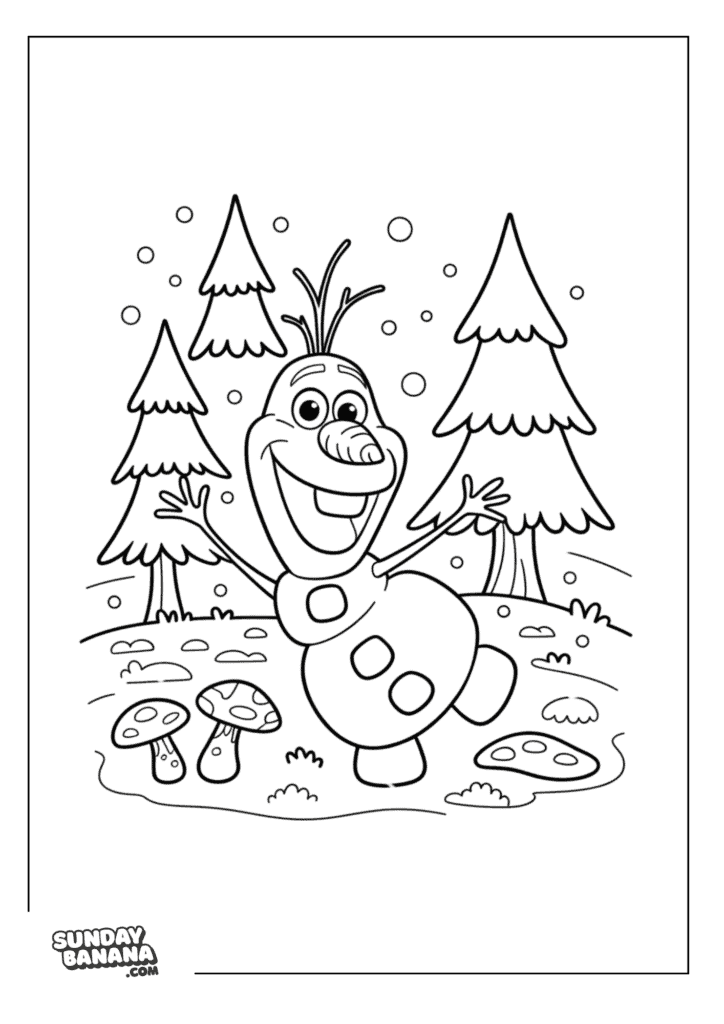
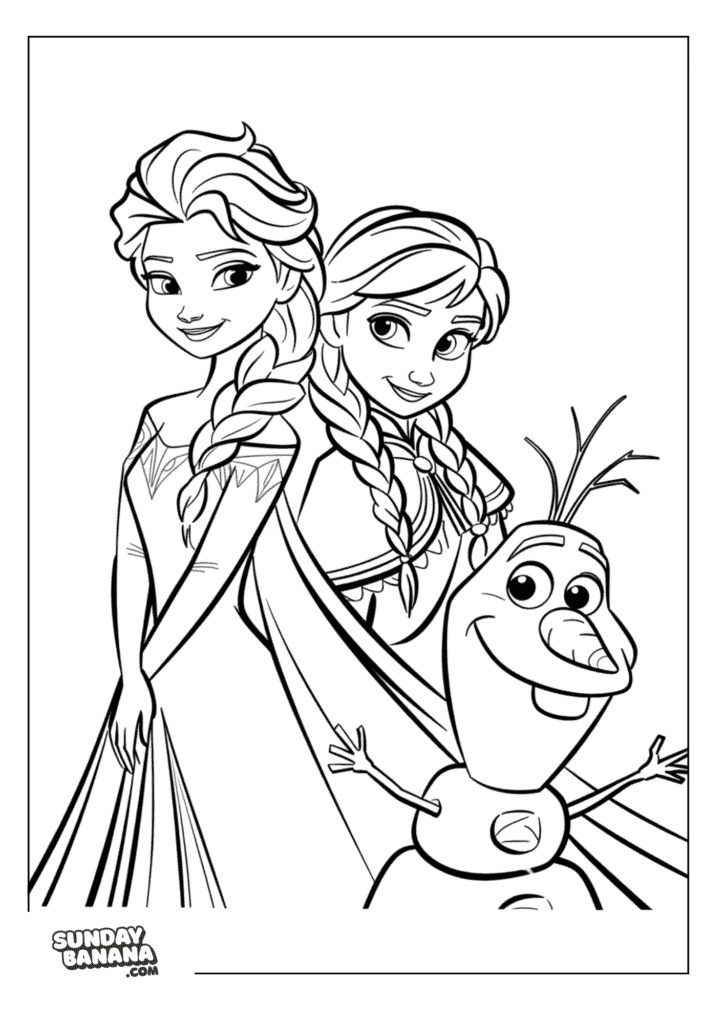
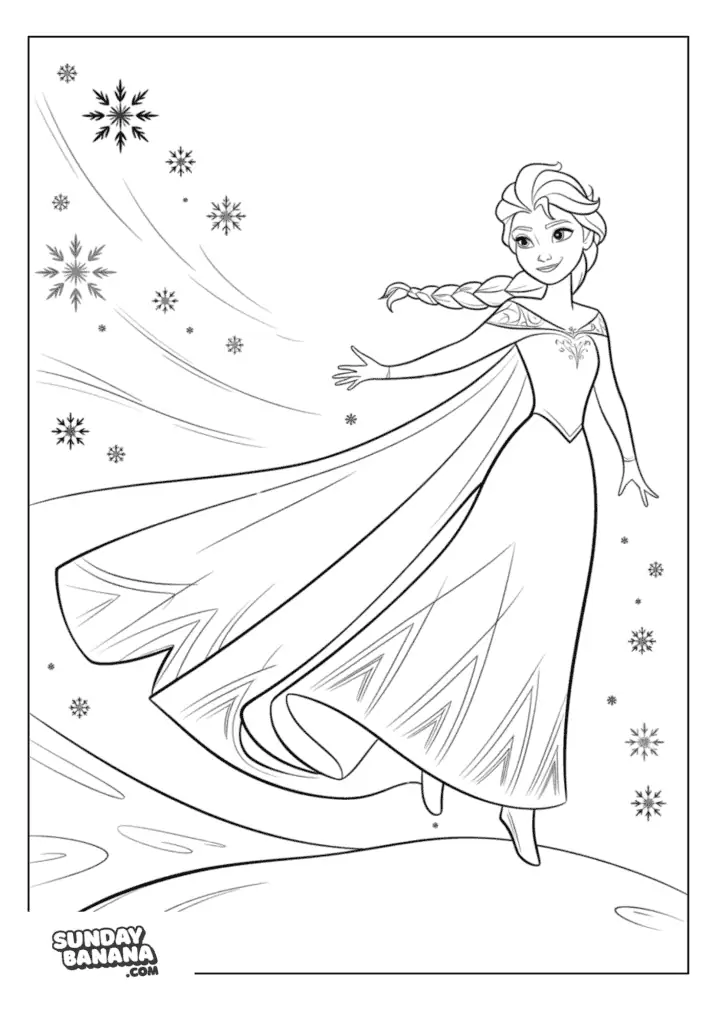
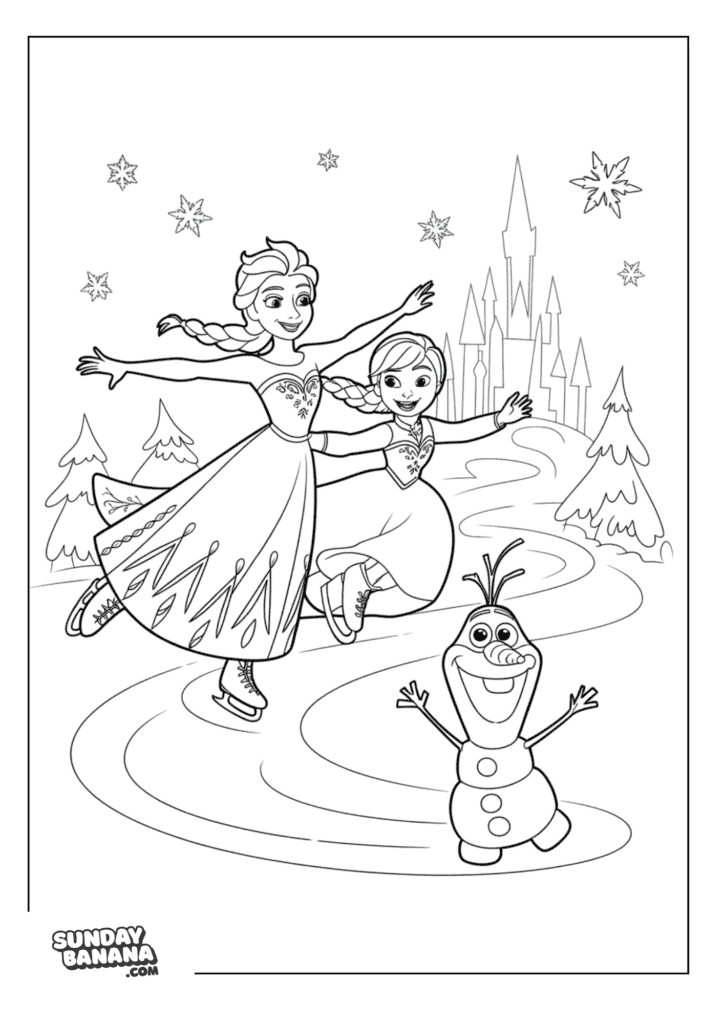
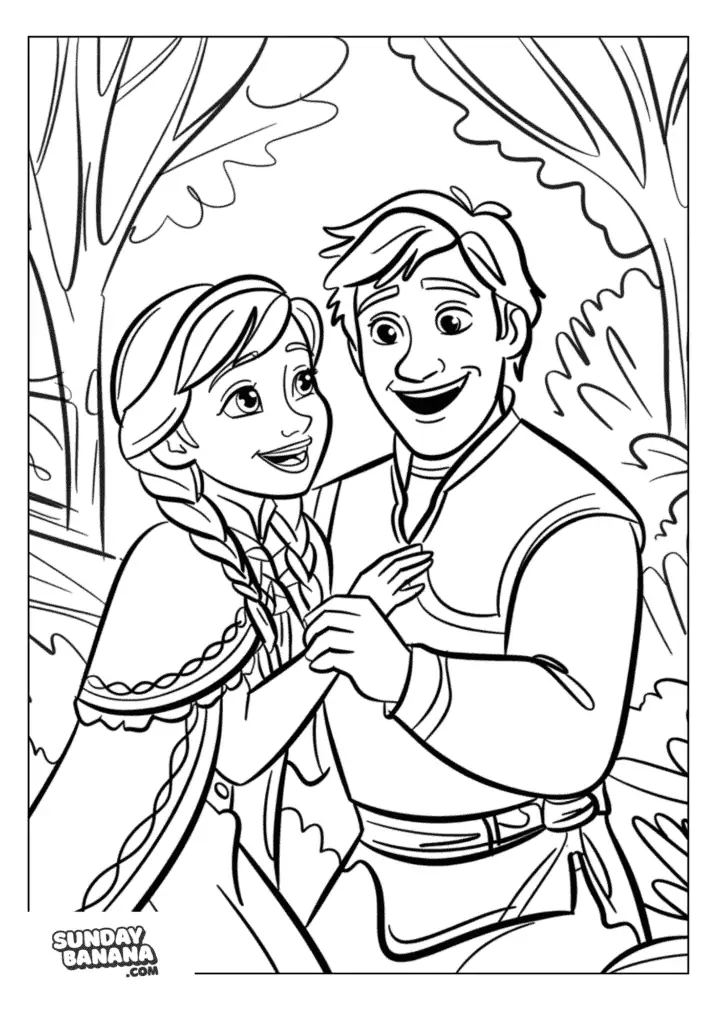
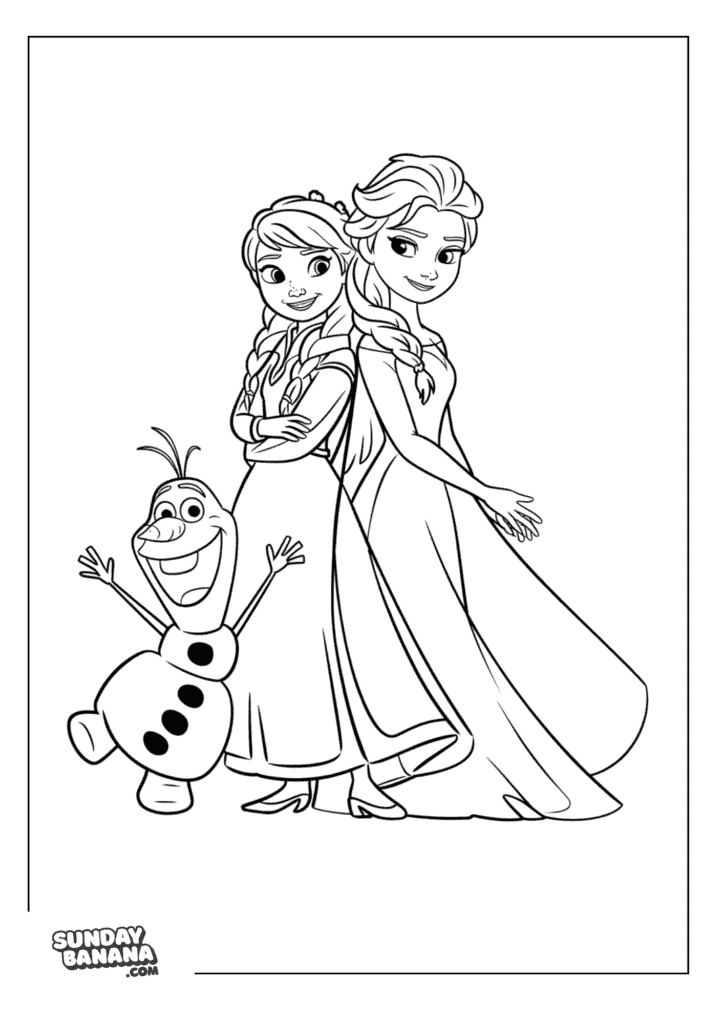
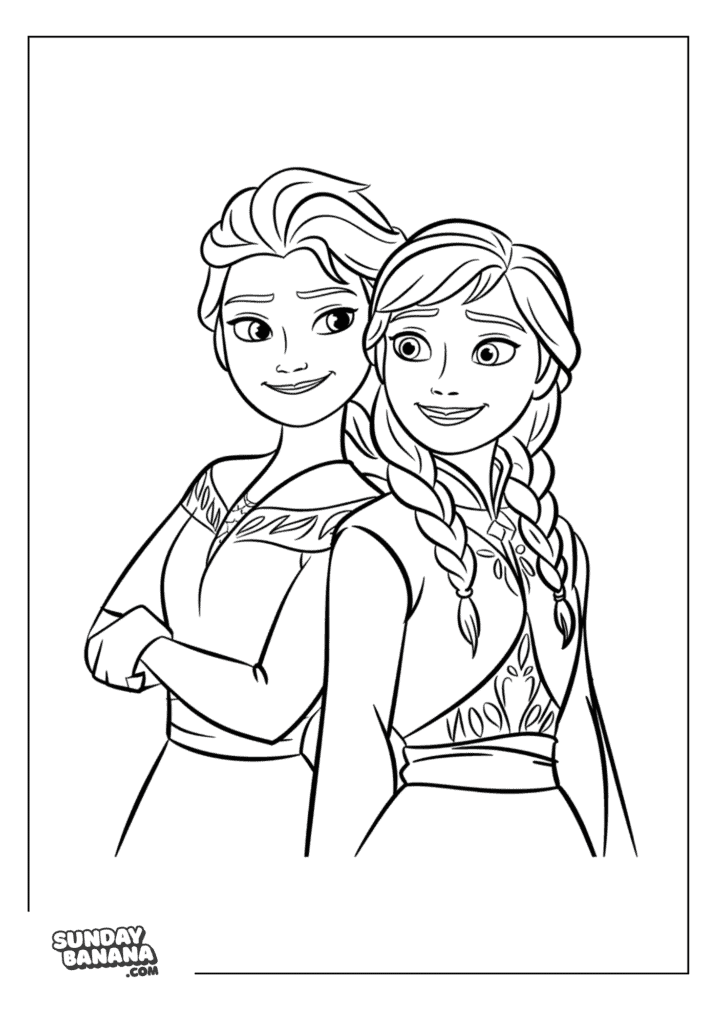
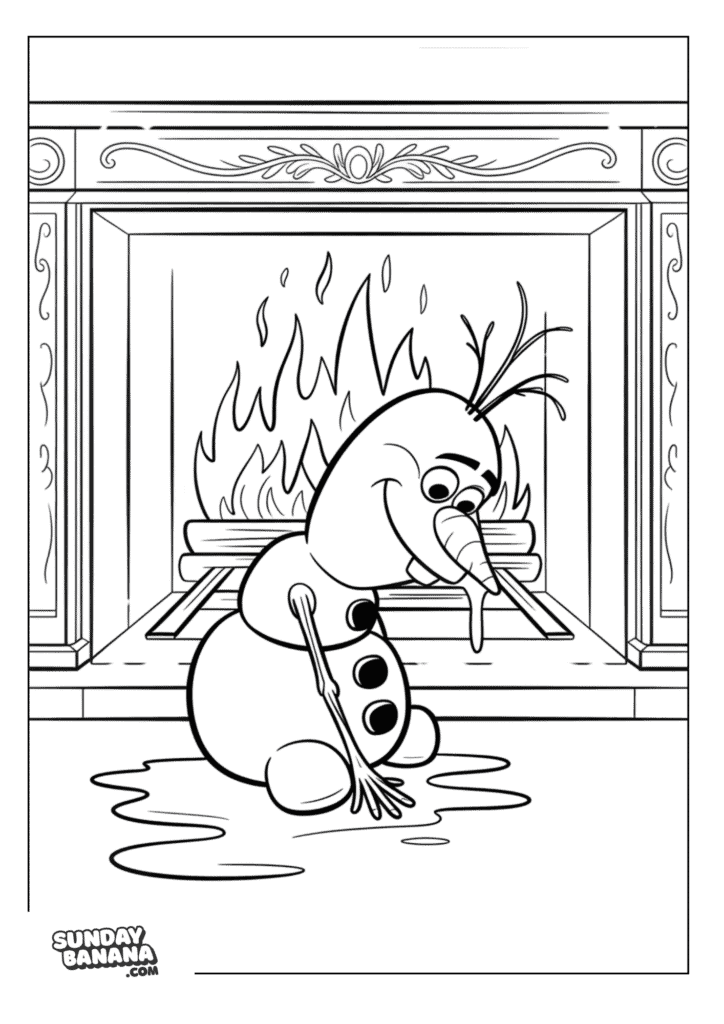
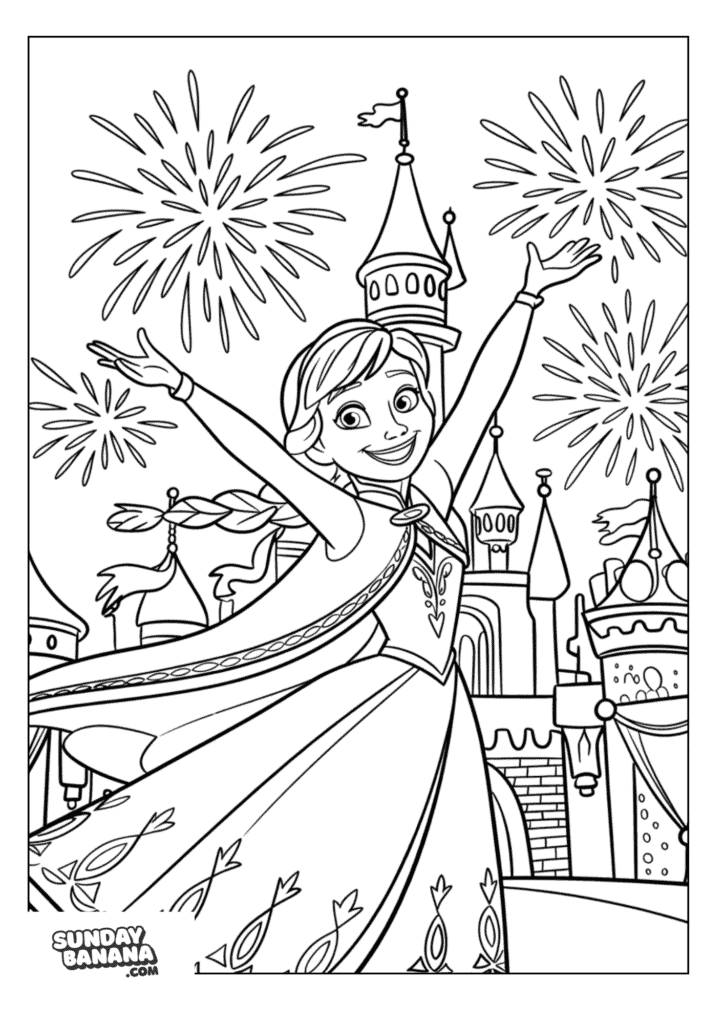
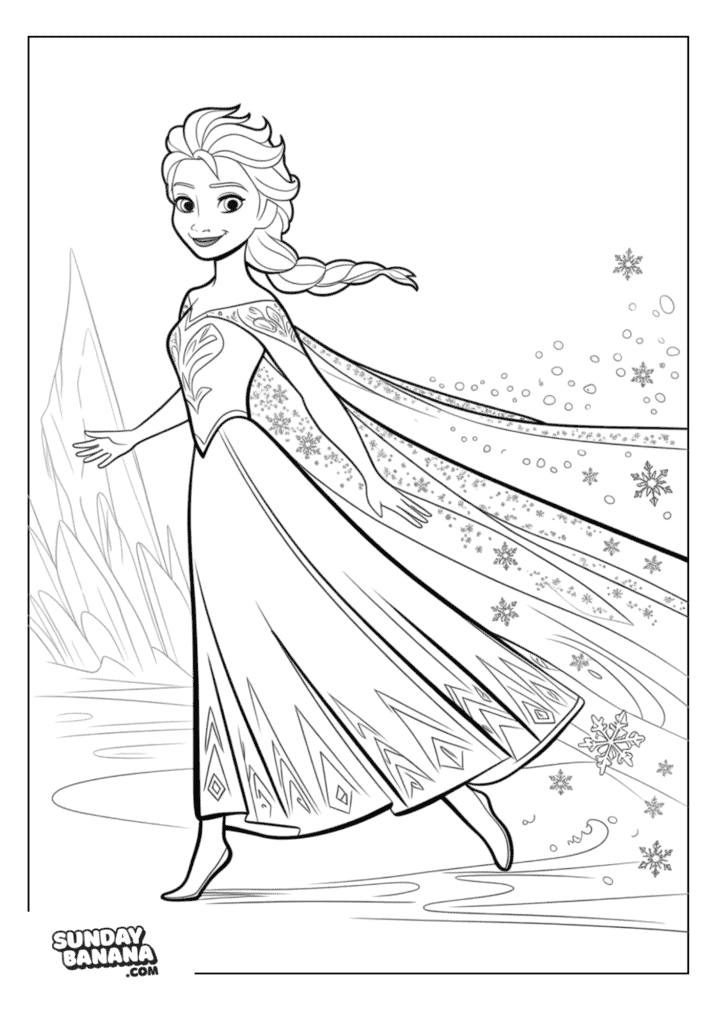
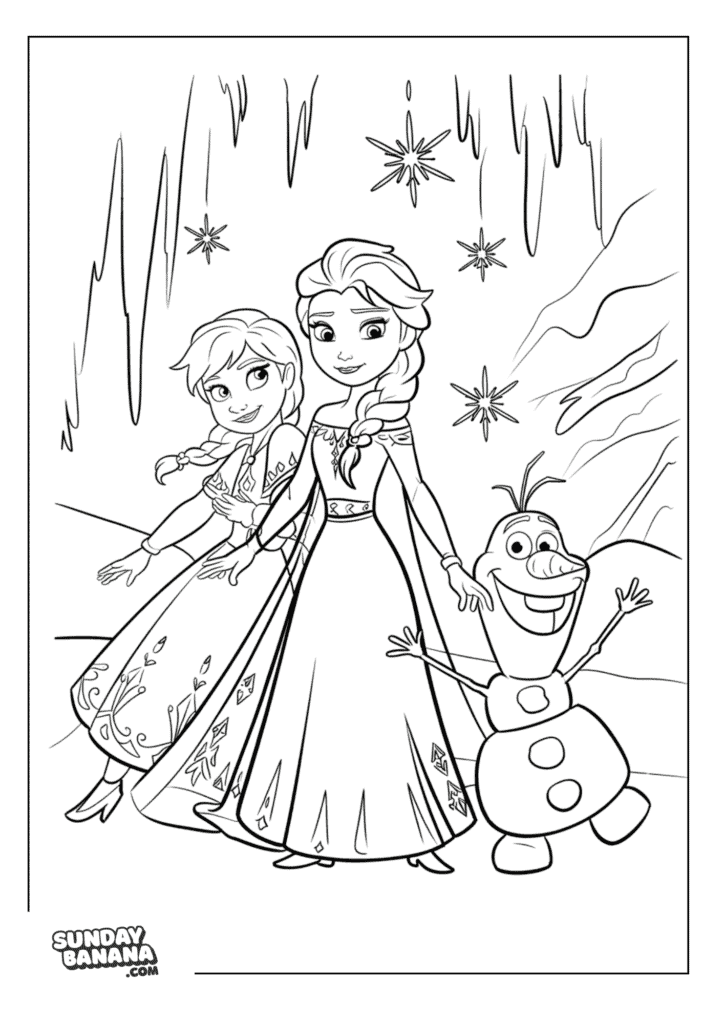
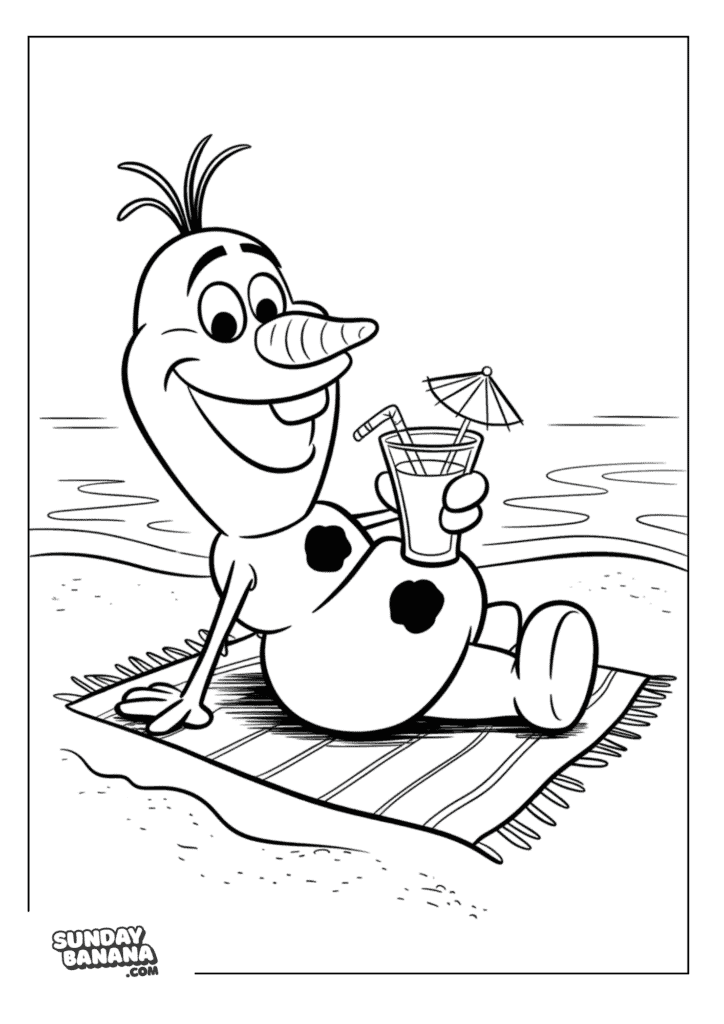
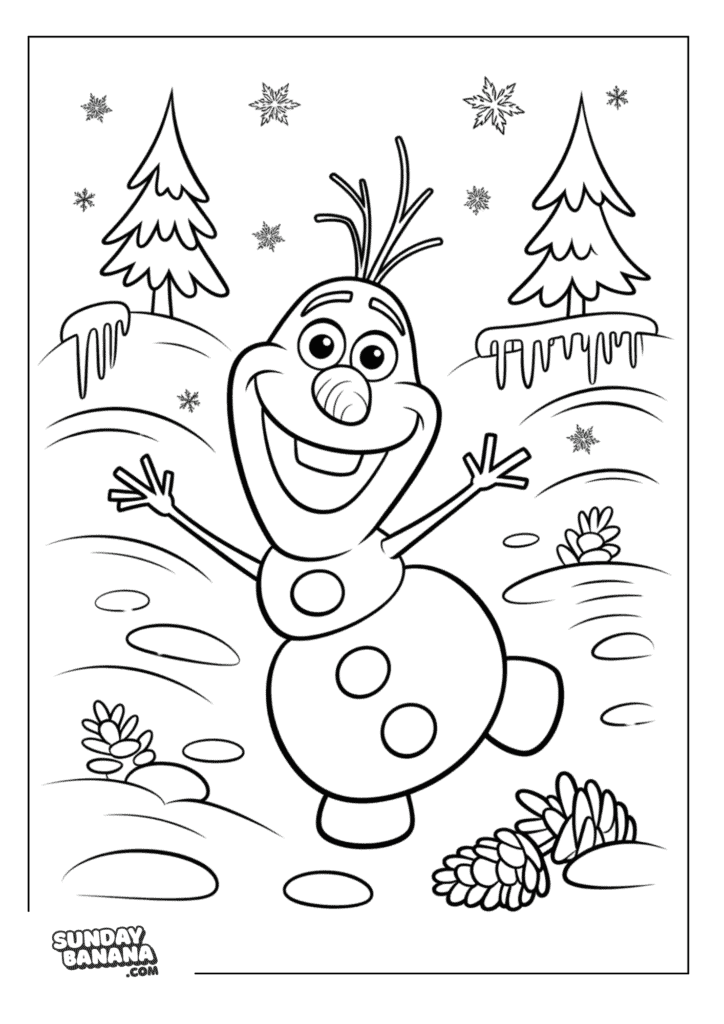
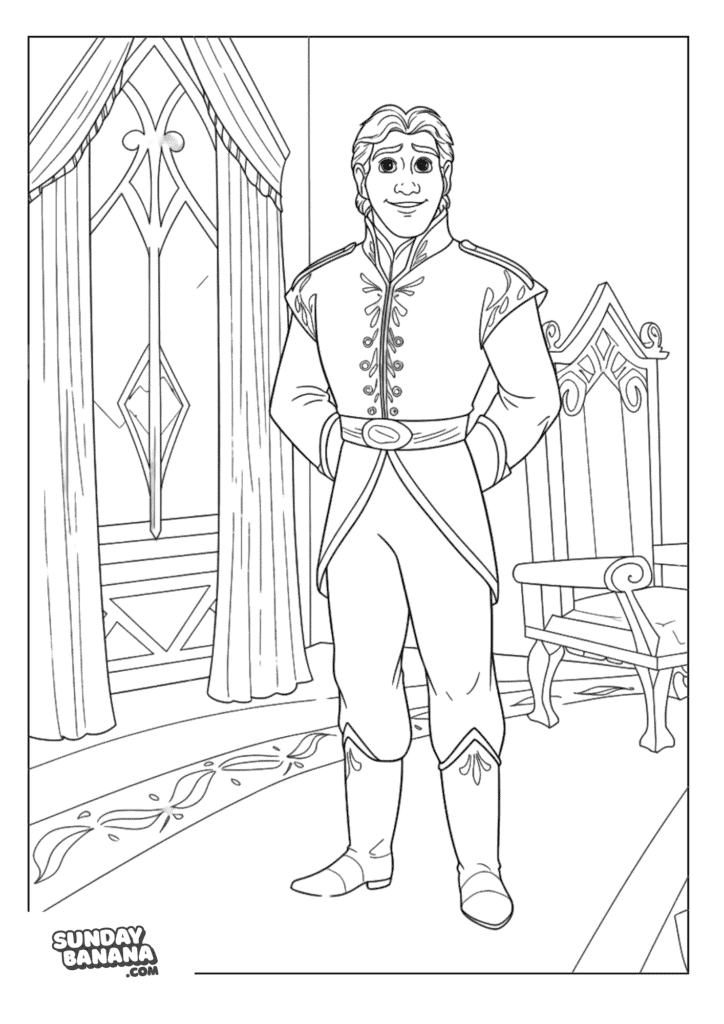
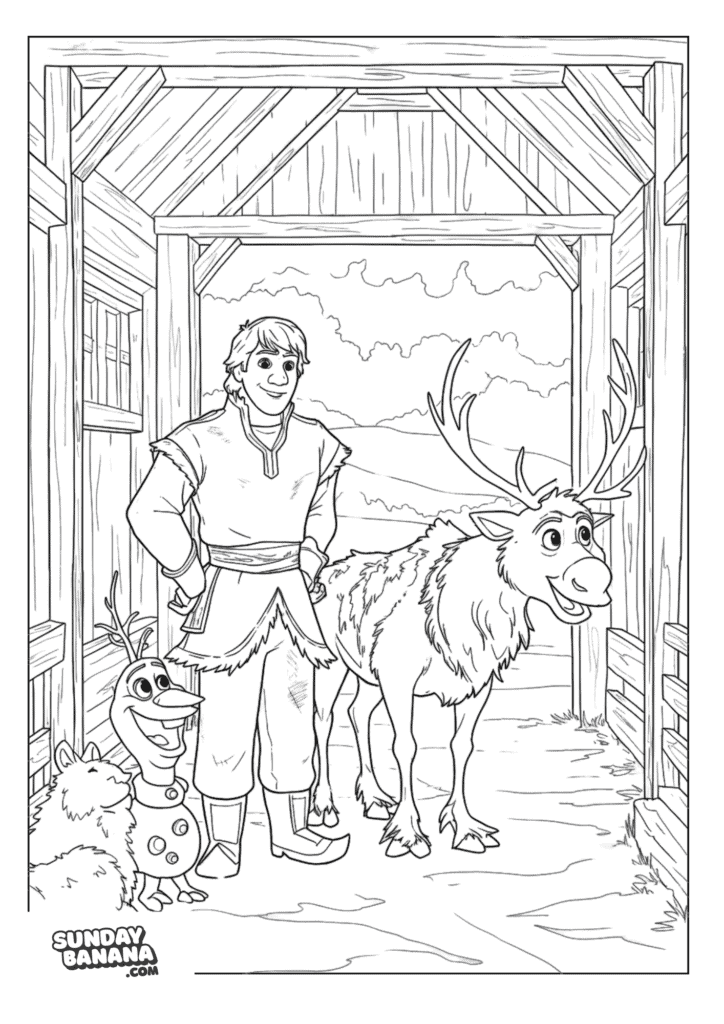
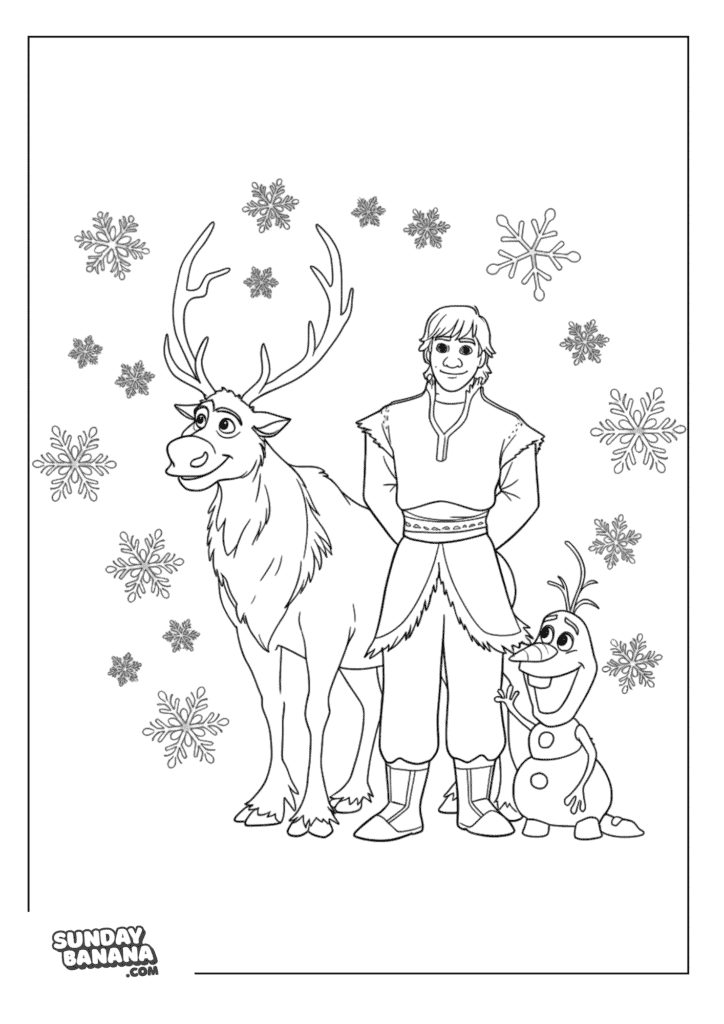
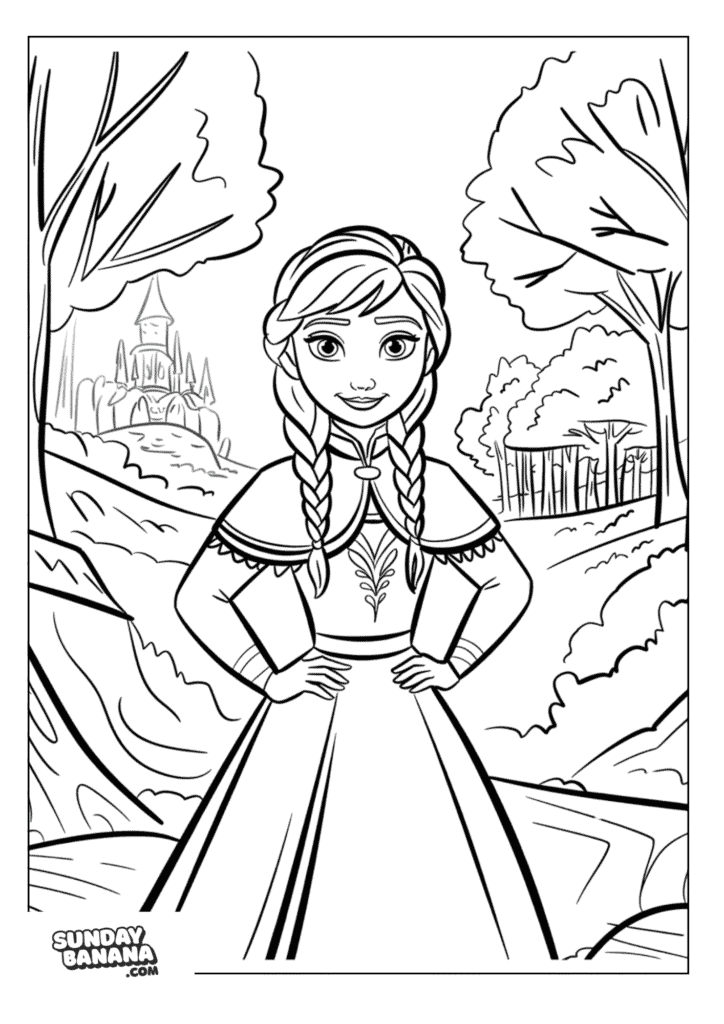
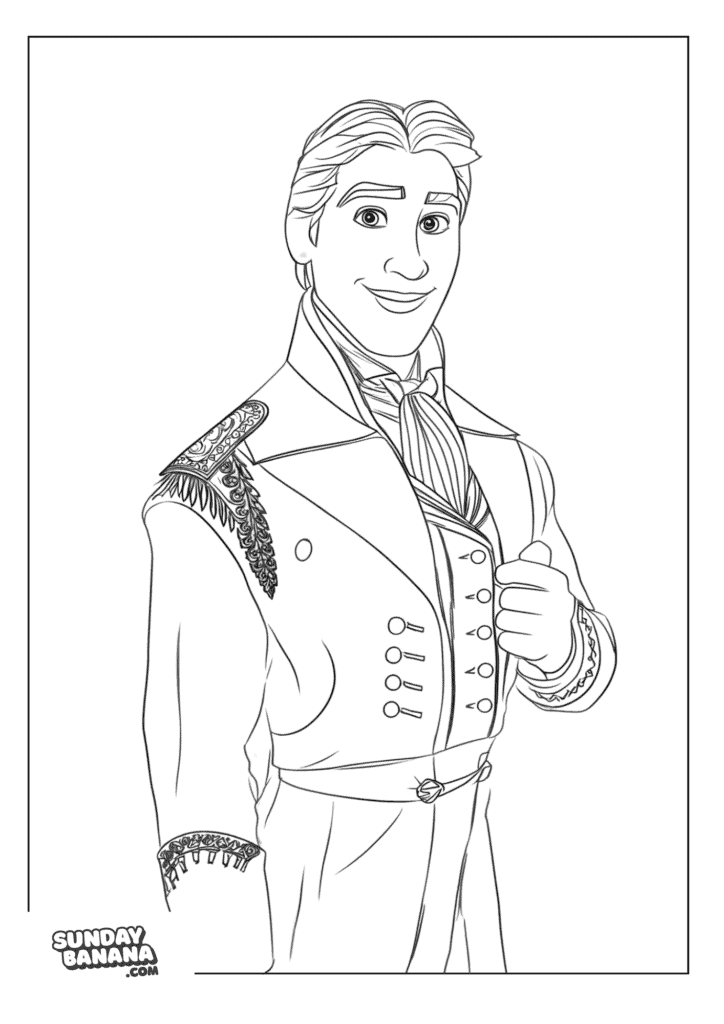
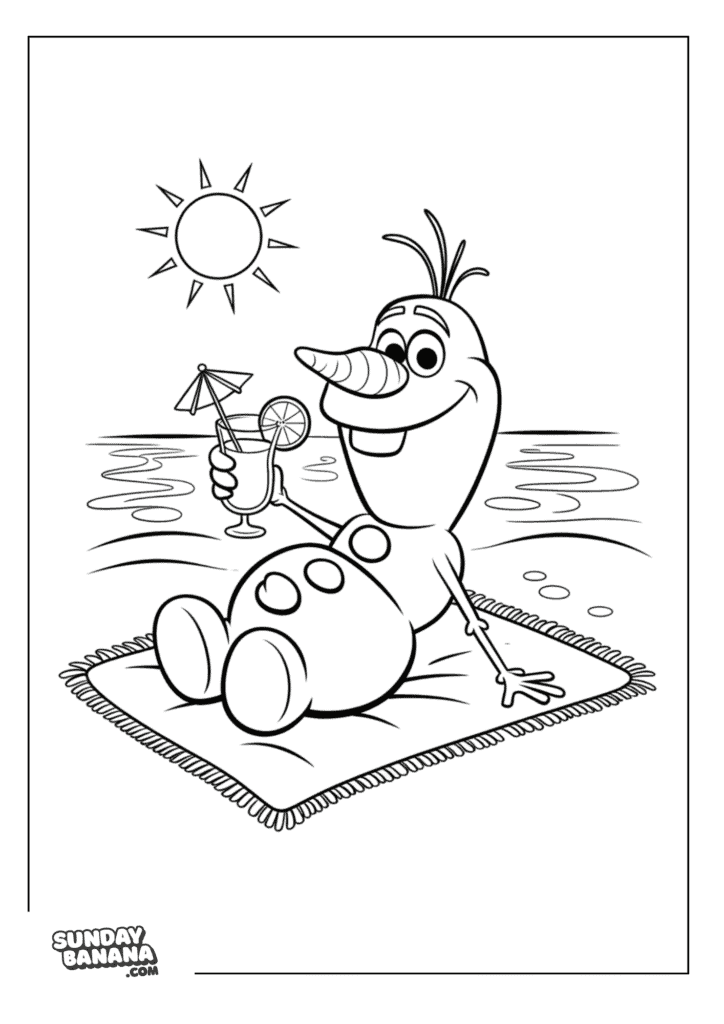
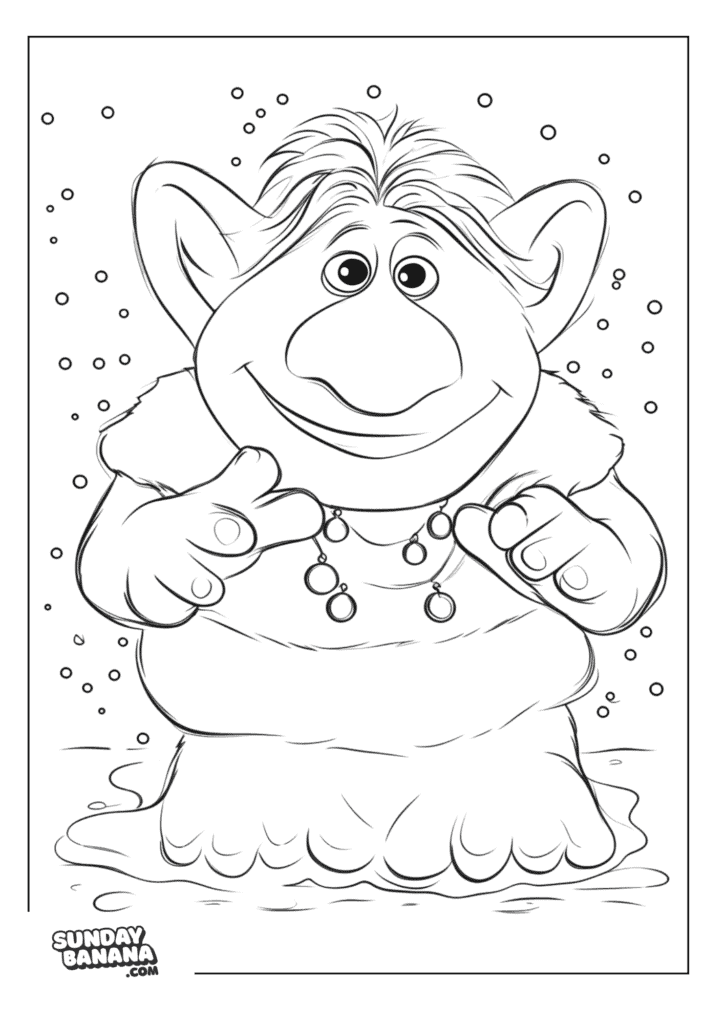
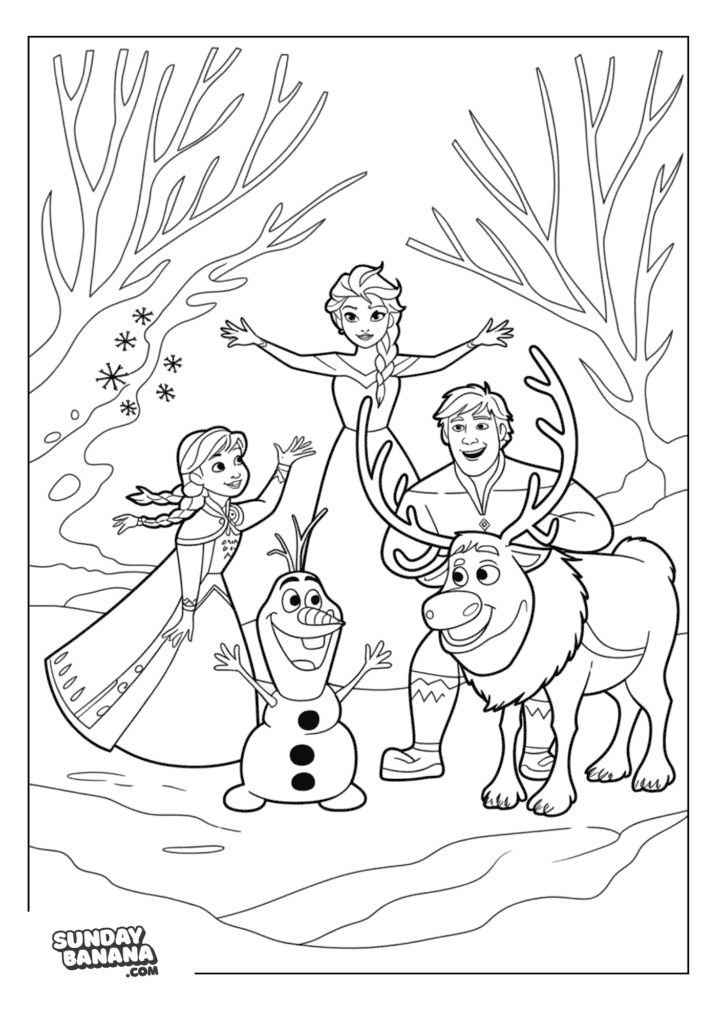
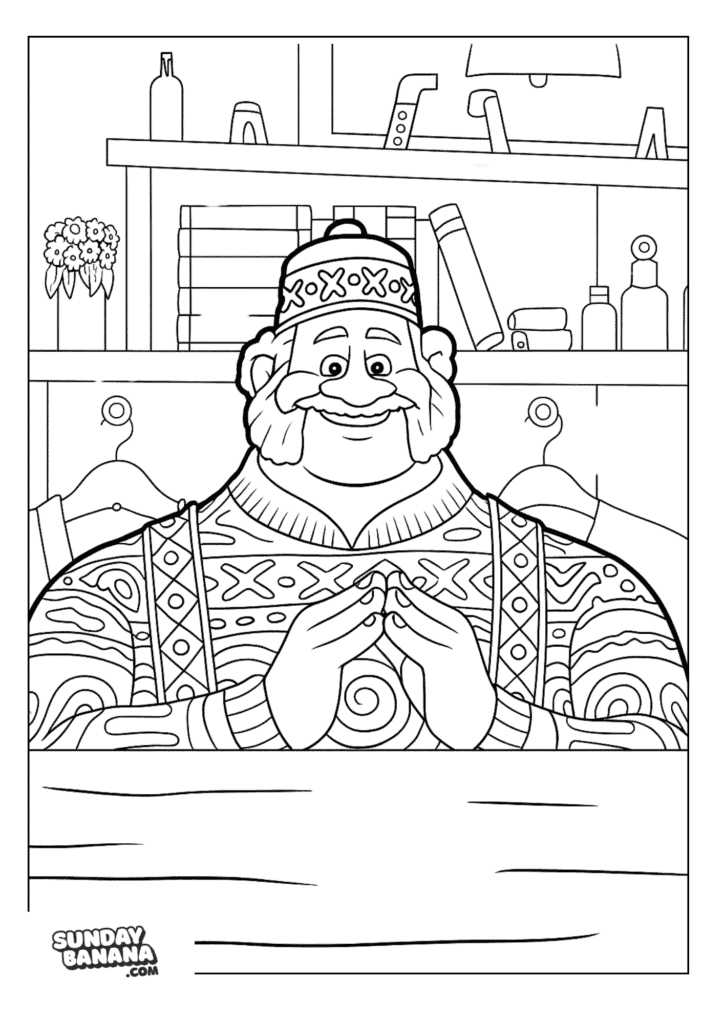
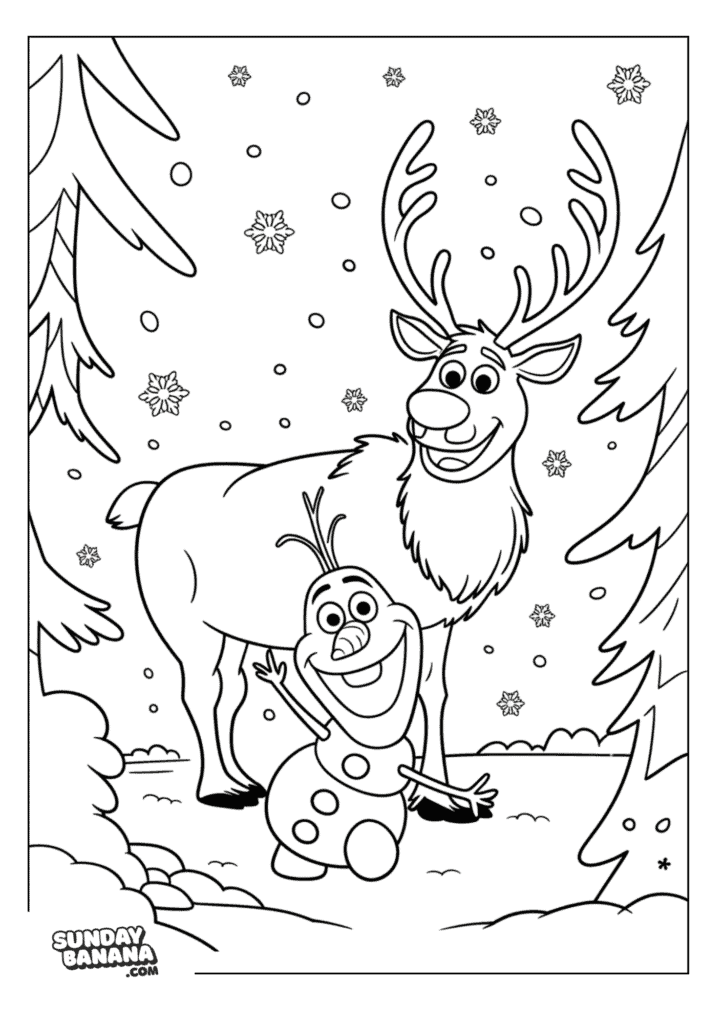
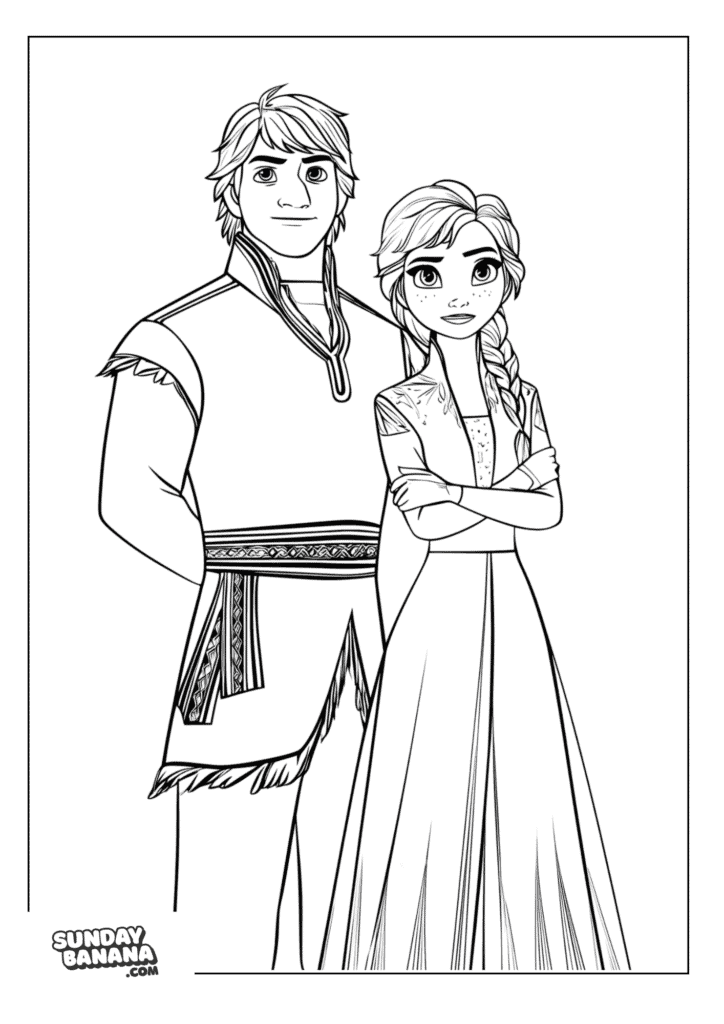
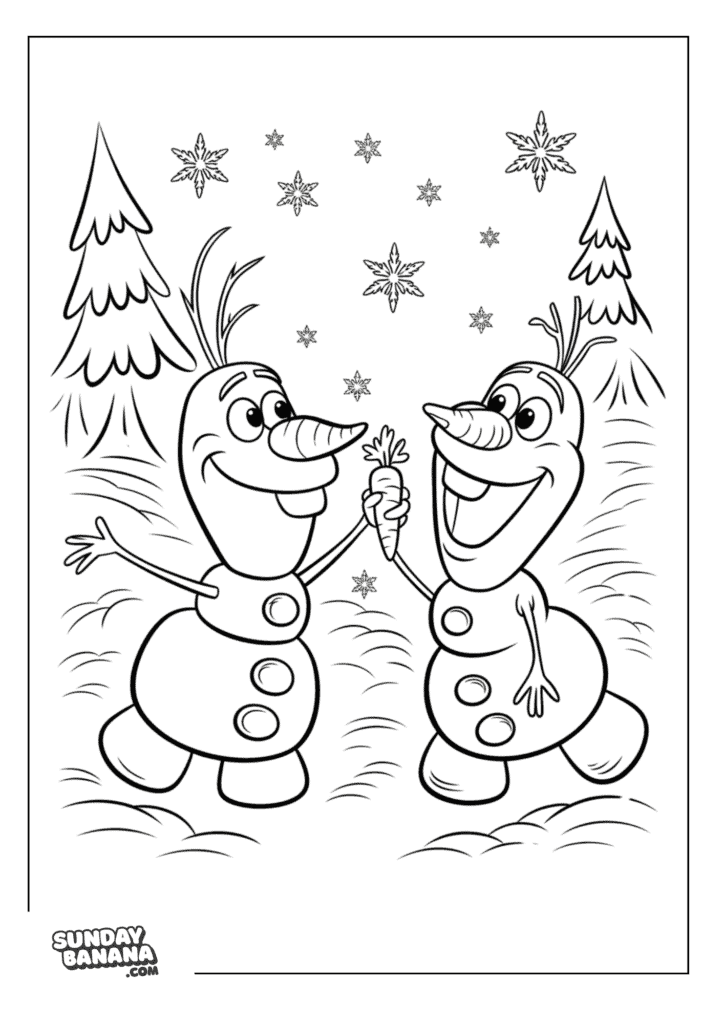
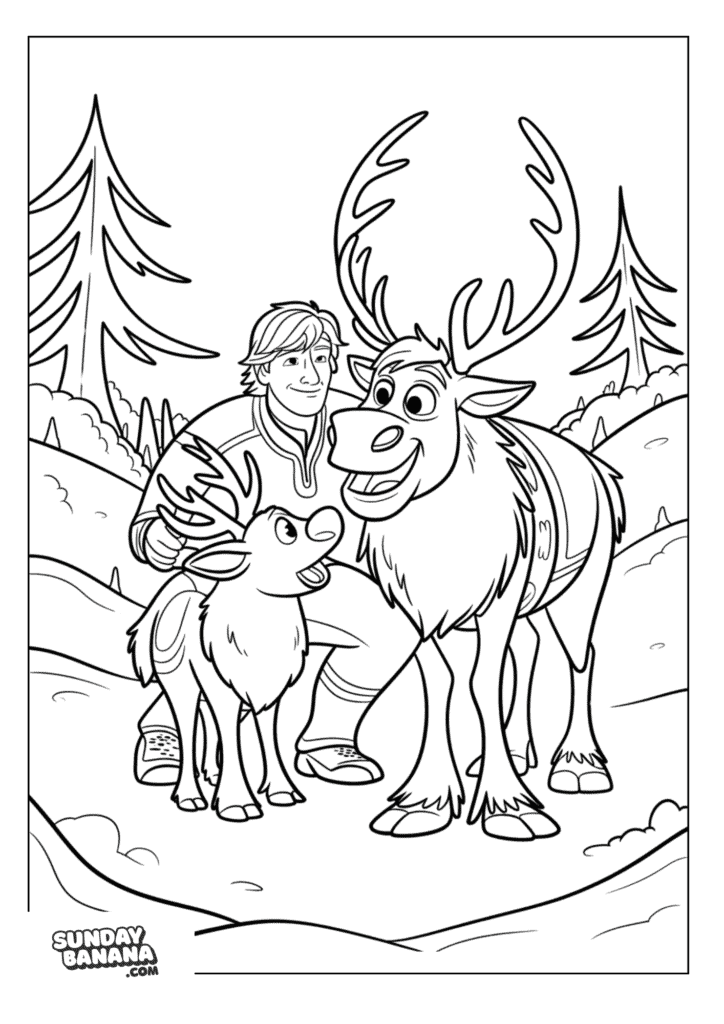
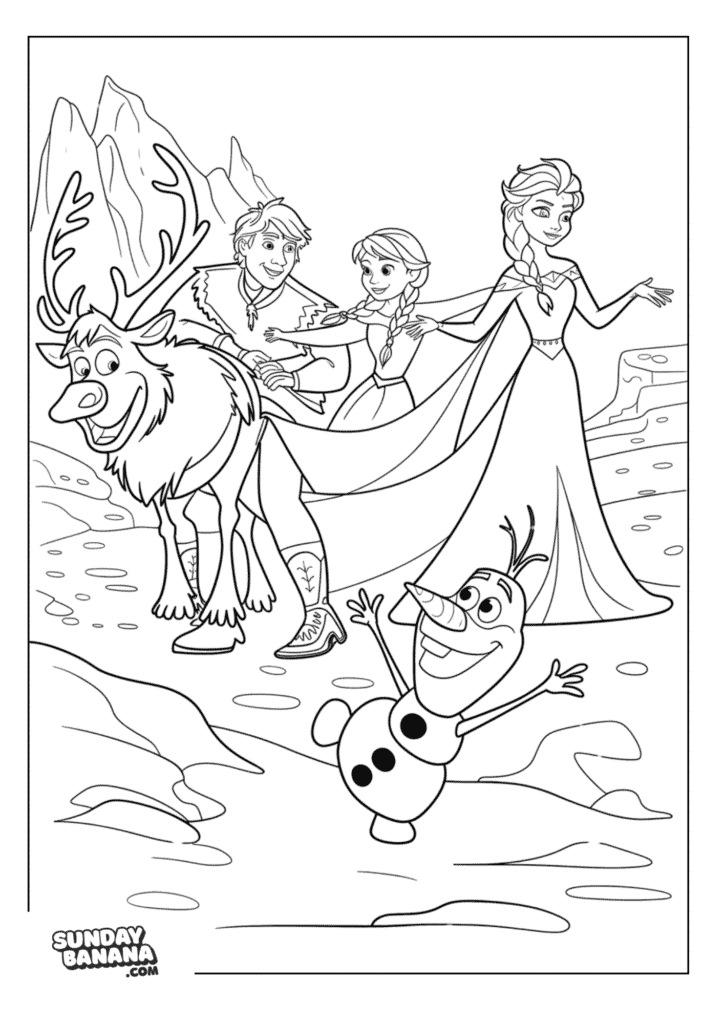
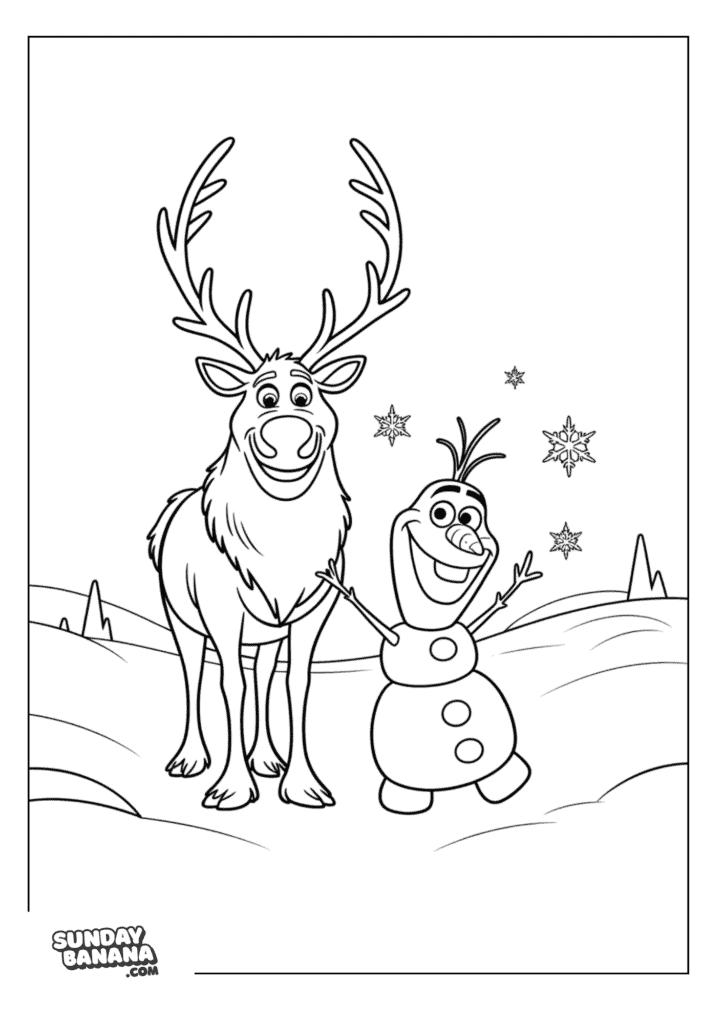
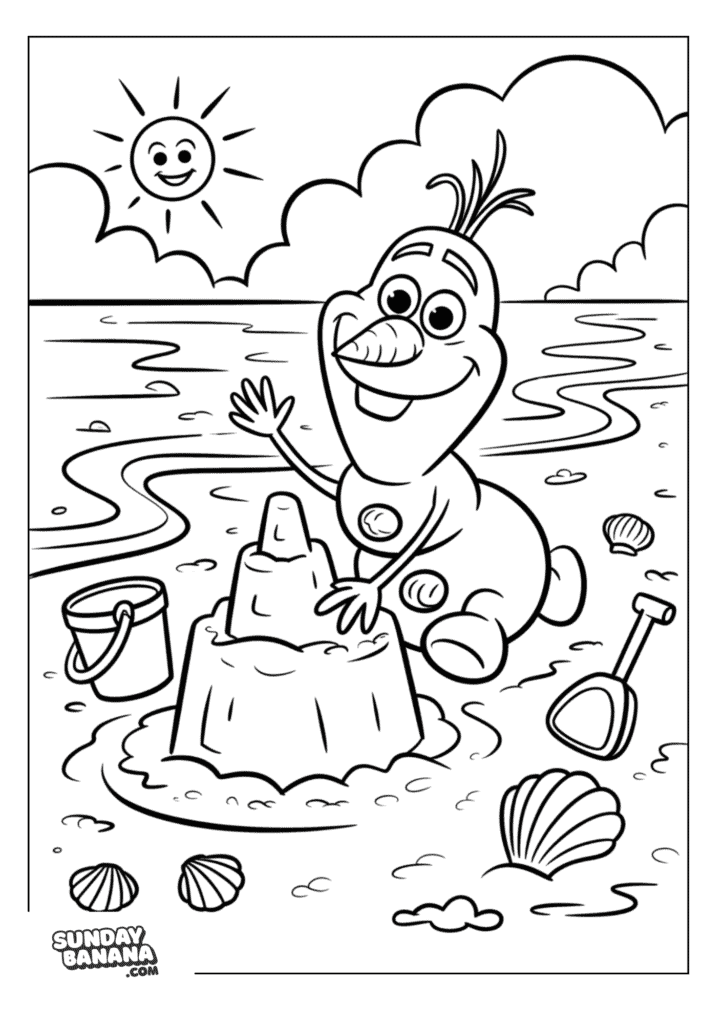
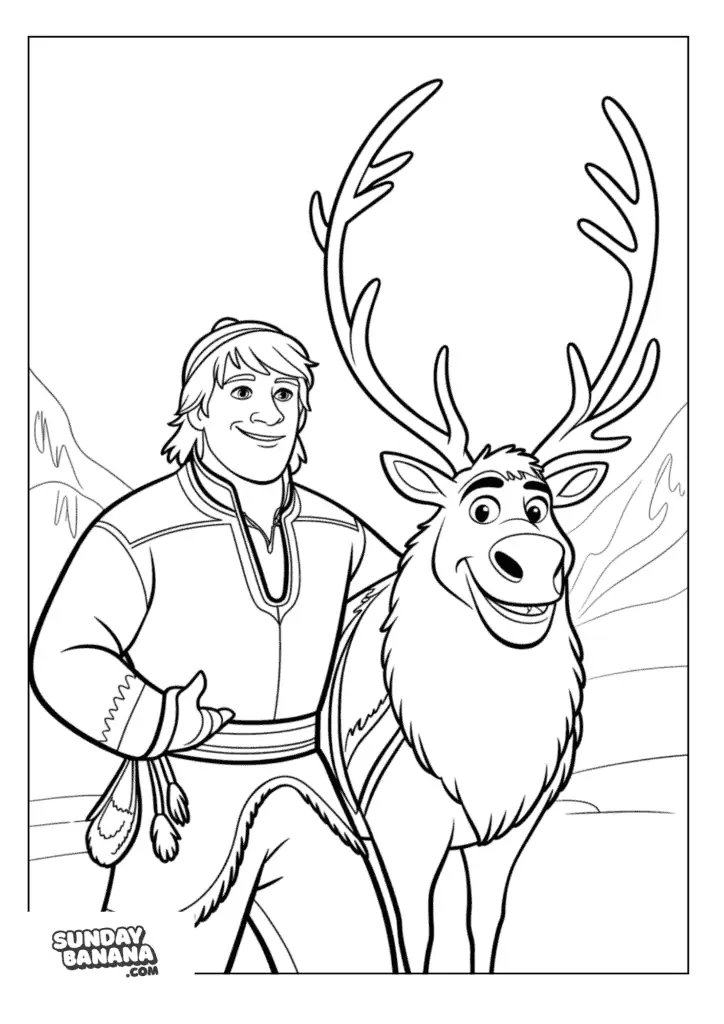
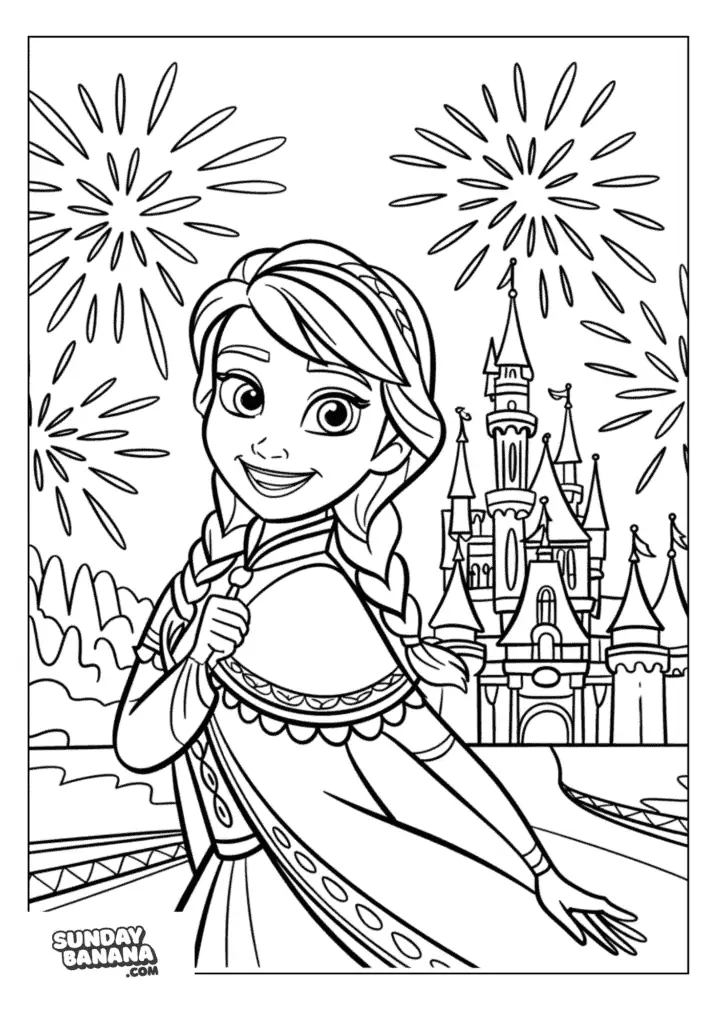
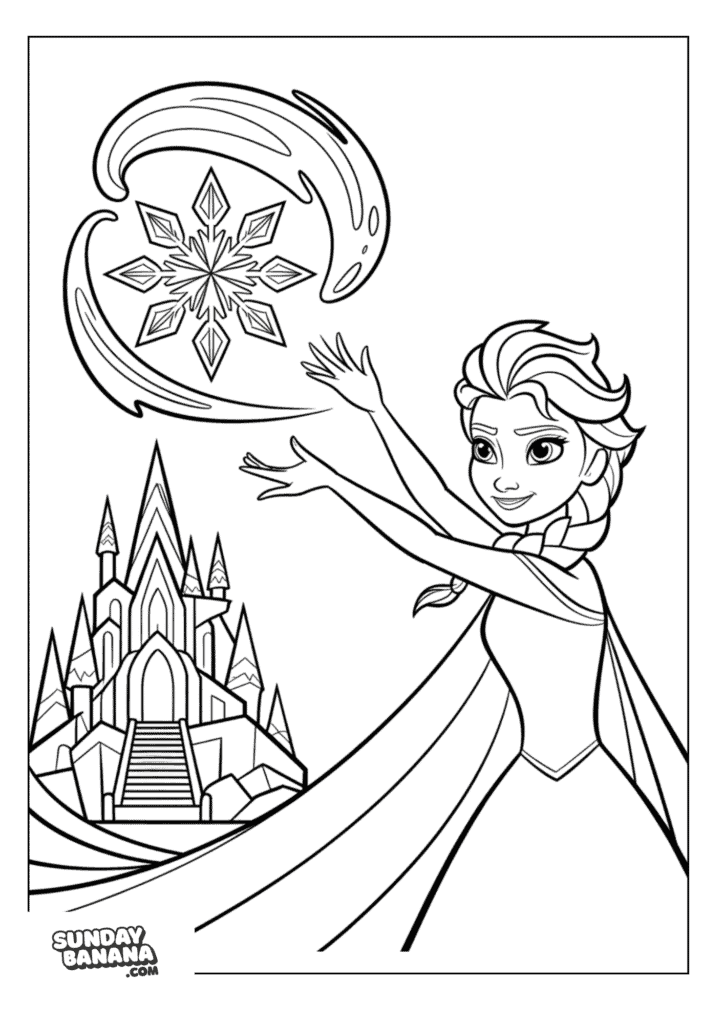
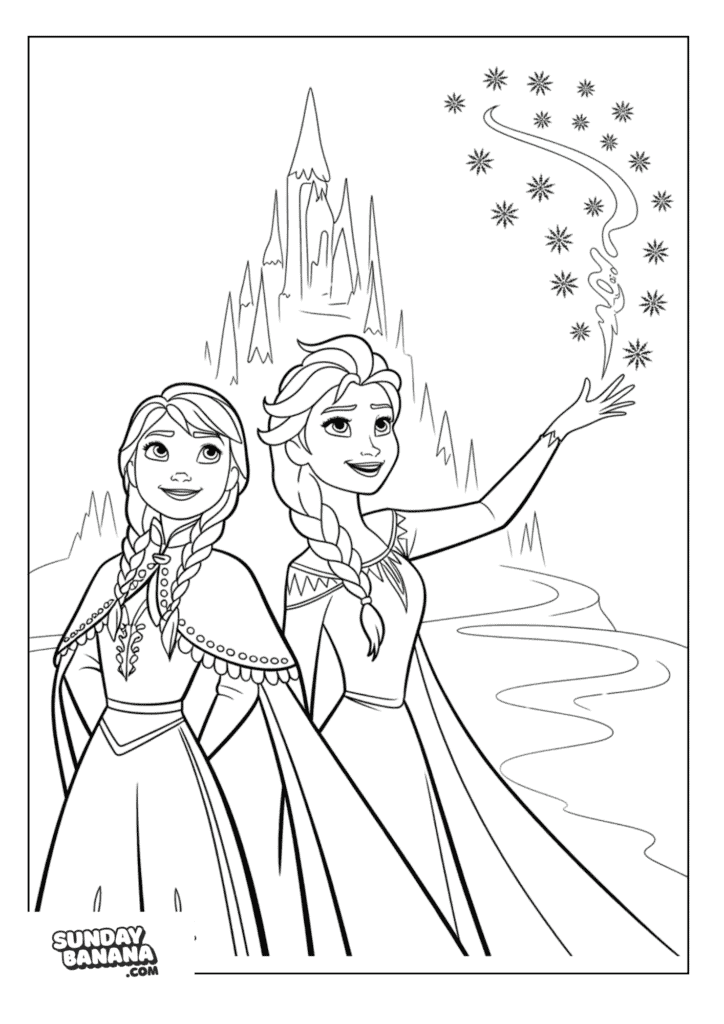
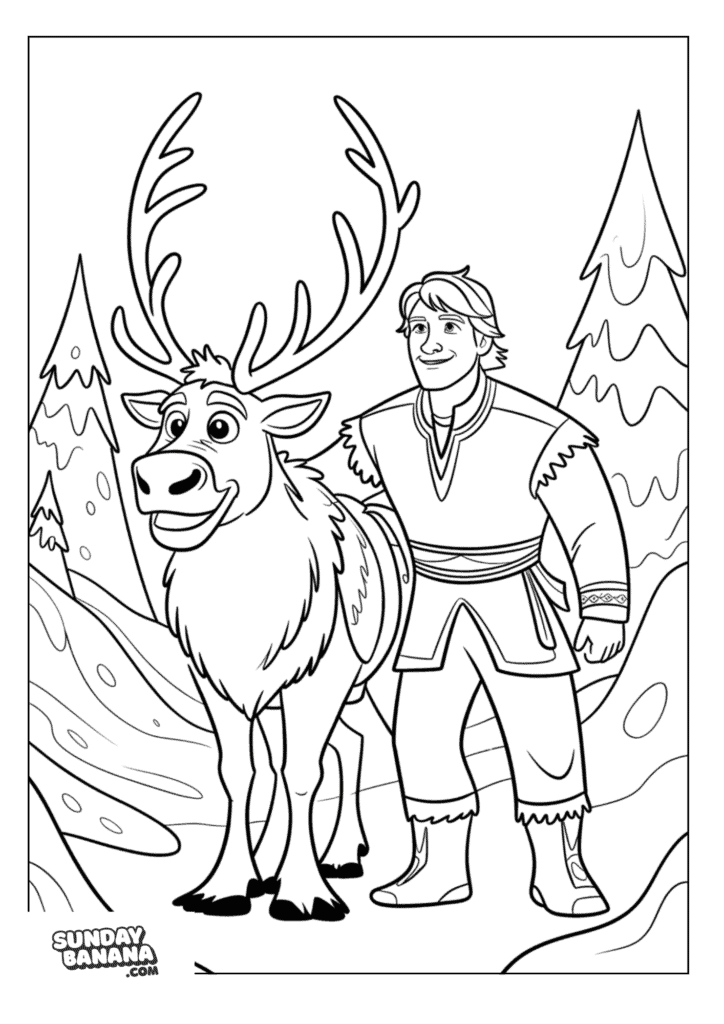
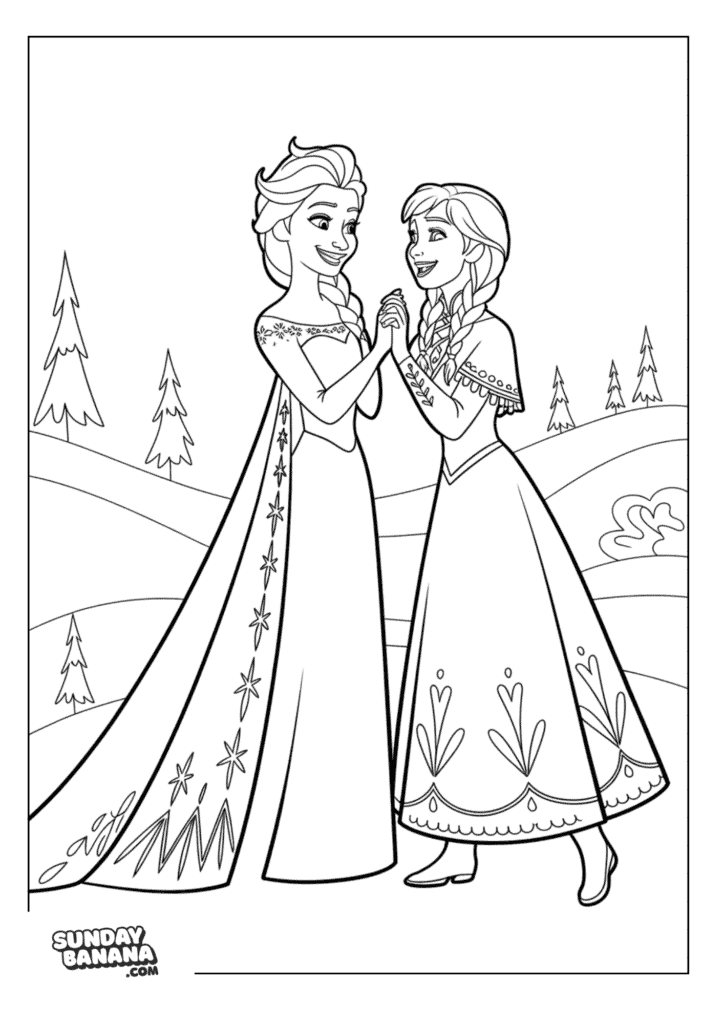
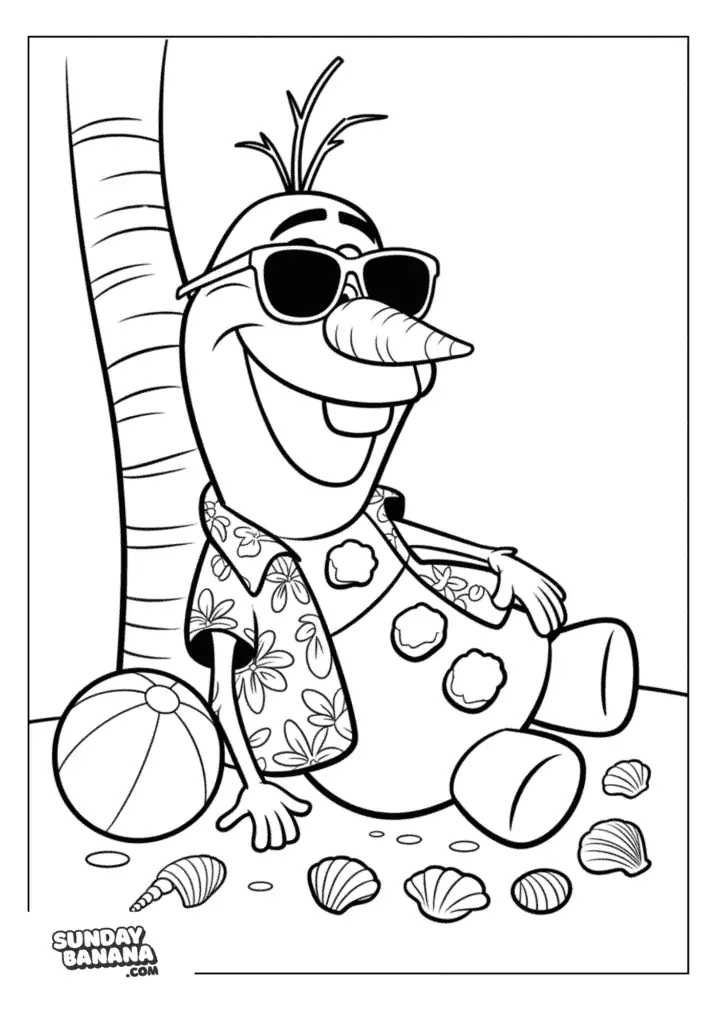
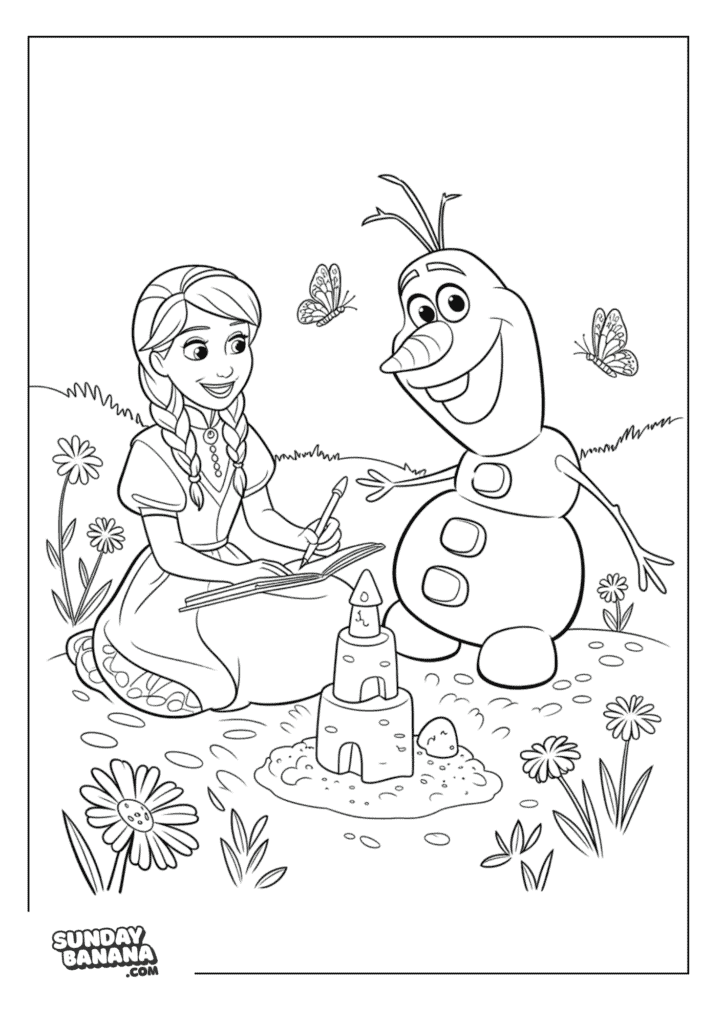
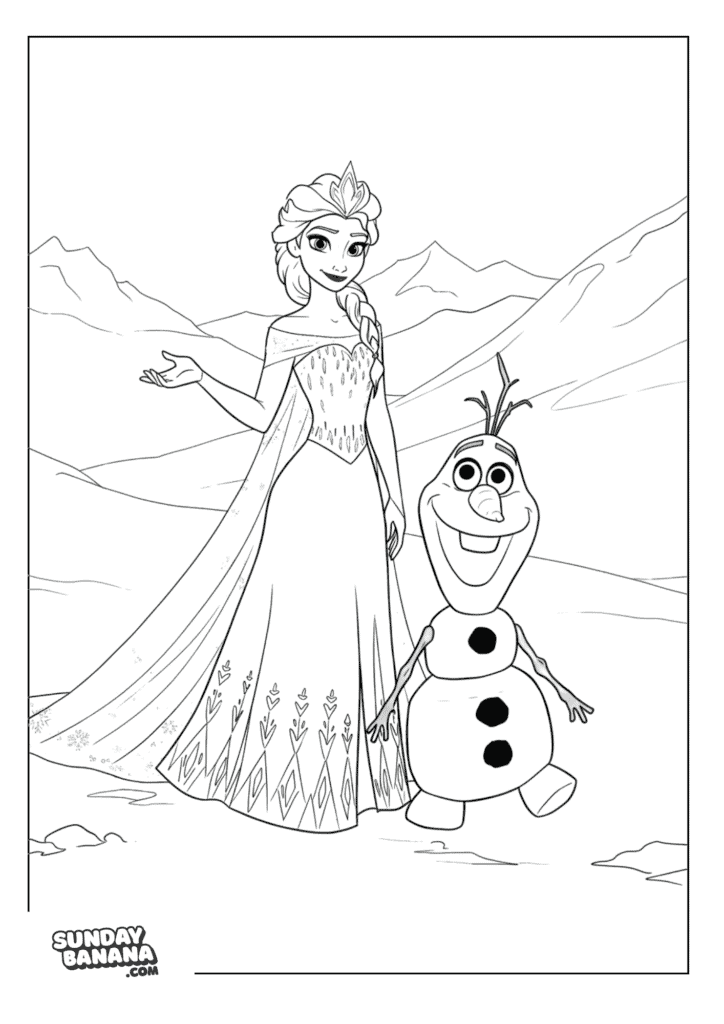
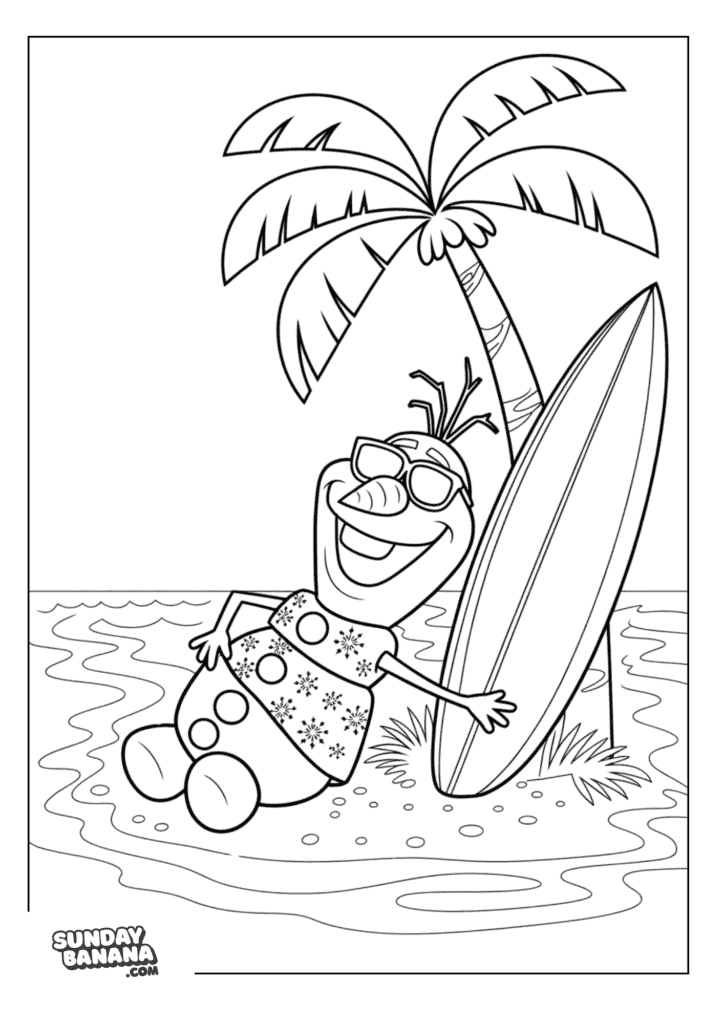
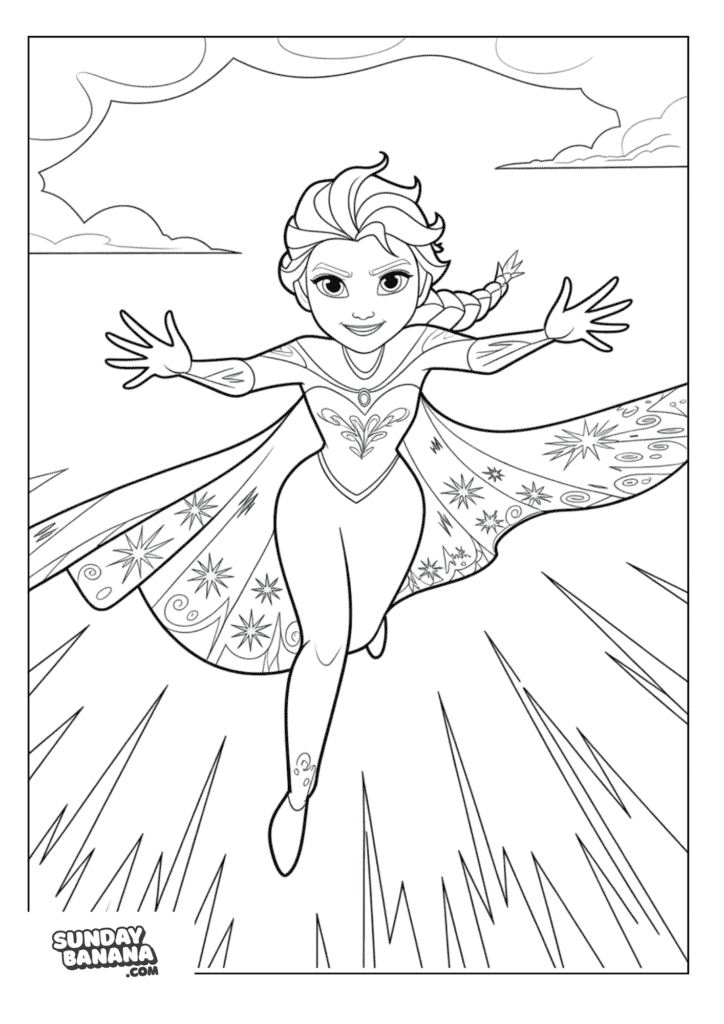
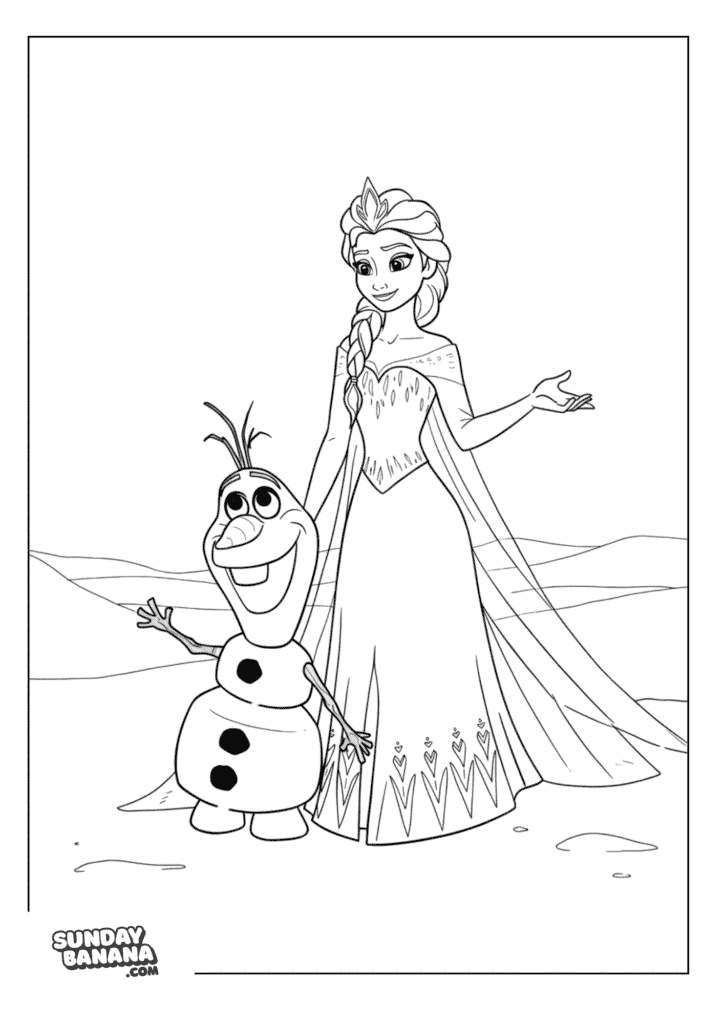
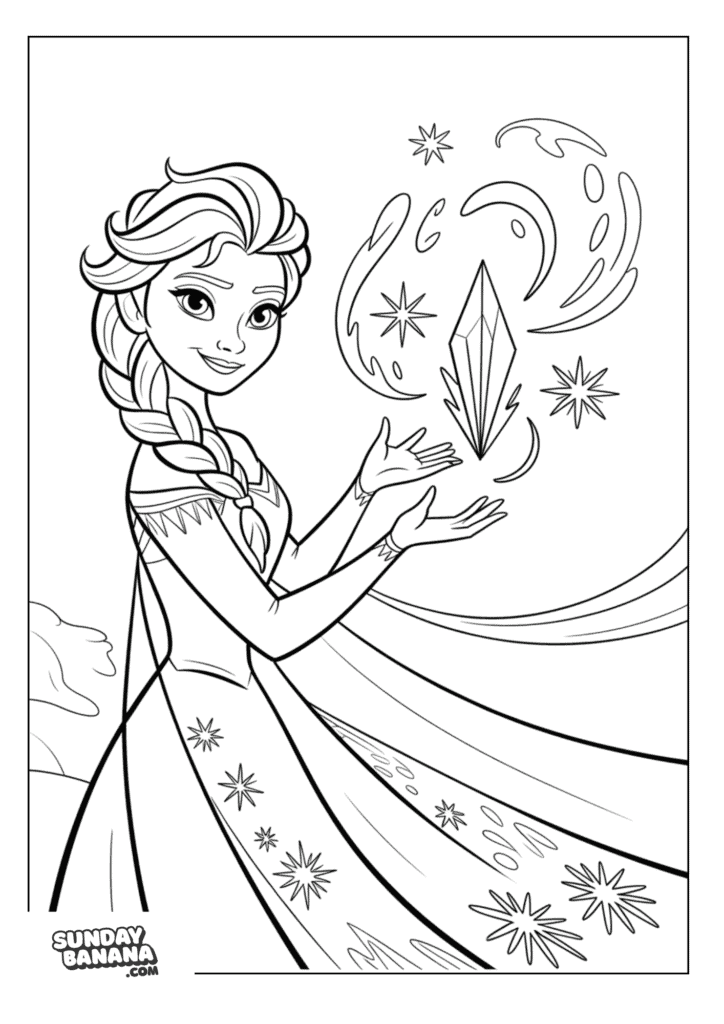
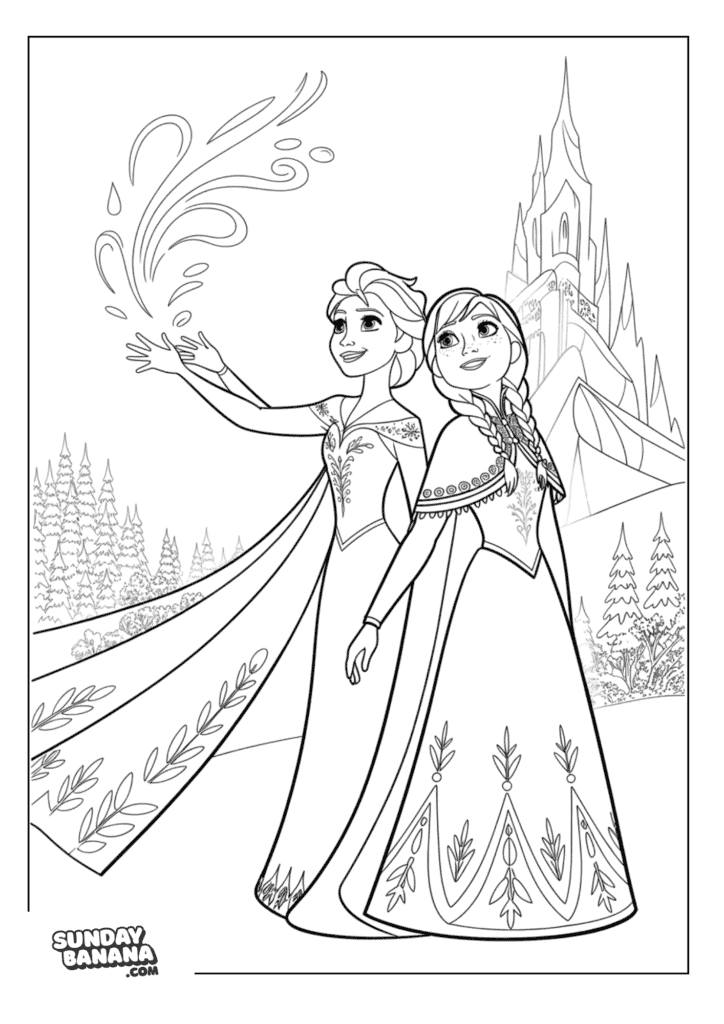
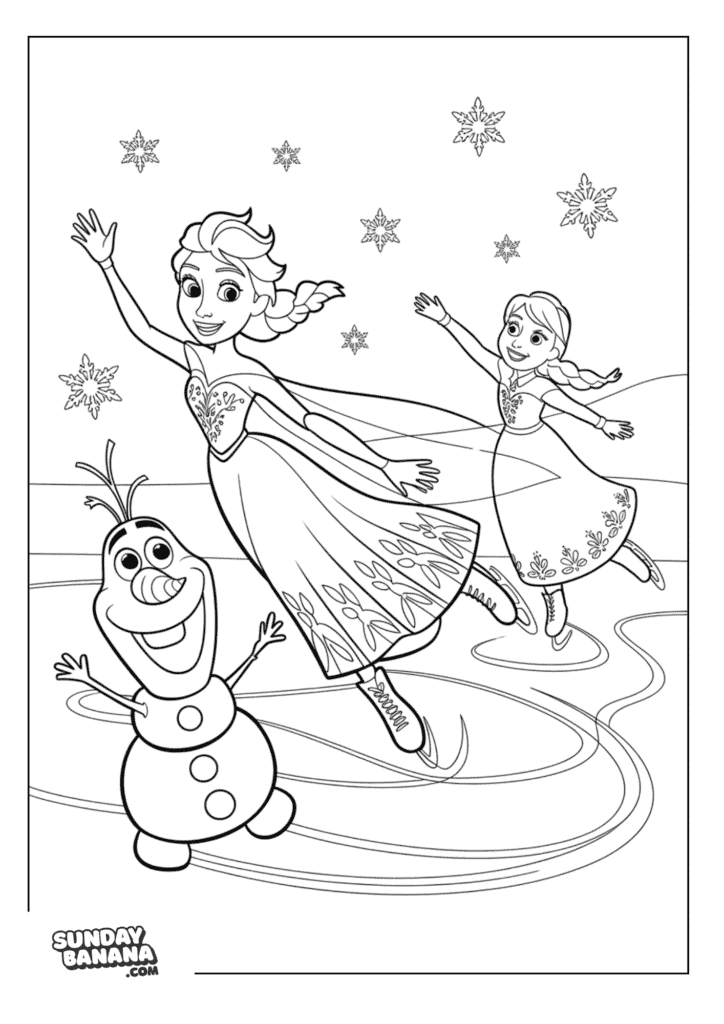
Hey there Frozen fans! Check out this awesome page with 52 super cool Frozen coloring pages that you can download and print for free! I’ve drawn all kinds of fun pictures for this set, like Elsa with her icy magic, Anna being super brave, Olaf the funny snowman, Sven the loyal reindeer, Kristoff the tough mountain guy, and tons of other Frozen-themed goodies!
These coloring sheets are perfect for all sorts of fun stuff! Use them to throw an epic birthday bash activity, get crafty on a boring rainy day, make awesome party decorations, create cool placemats, turn them into wall art for your room, whip up a quick art project when you’re in a pinch, and so many other creative ideas!
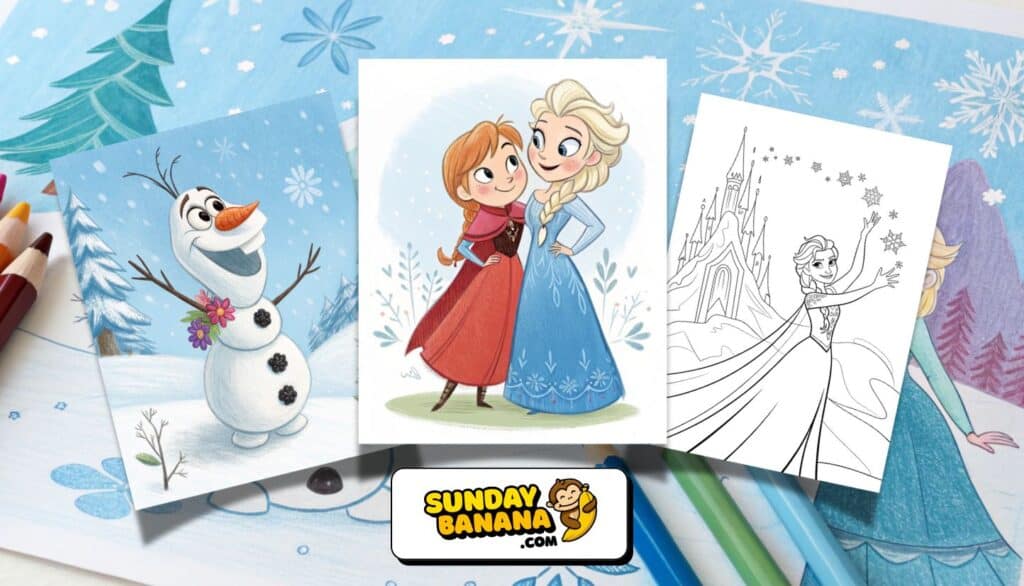
To start coloring, click on any of the below images or links to open the free PDF. Once opened, you can then download or print as many pages as you like.
All of the below pages are on A4 sized paper, but they also scale perfectly onto US-letter paper too! Happy coloring!
More Frozen Coloring Pages Coming Soon…
More Free Printable Coloring Pages
Want more super cool coloring stuff that kids go crazy for? Check out our awesome coloring page collections! They’re totally fun and packed with pictures just waiting for your crayons and markers to make them pop!
16 Fun Crafts To Do With Frozen Coloring Pages
1. Crafting Olaf Salt Dough Ornaments
Add a touch of Frozen to your holiday decor with these charming Olaf salt dough ornaments! Perfect for Christmas trees and DIY lovers. These fun Frozen character crafts are eco-friendly handmade ornaments.
Materials: Salt, flour, water, acrylic paints, string, rolling pin, and cookie cutters.
Instructions:
Mix 2 cups of flour, 1 cup of salt, and 1 cup of water into a smooth dough.
Roll the dough to about ¼-inch thickness and use a snowman-shaped cutter to form Olaf’s body.
Make small indents for his face and buttons using a toothpick.
Bake at 200°F for 2-3 hours until hard, then cool.
Paint Olaf with white, black, and orange acrylic paints.
Thread a string through the ornament and tie a loop for hanging.
2. DIY Frozen Glitter Slime
Kids love slime—make it magical with a Frozen twist! Create sparkly slime in Elsa’s icy-blue colors. This no-mess glitter slime recipe are fun and easy Frozen STEM activities.
- Materials: Clear glue, liquid starch, blue glitter, optional foam snowflakes.
- Instructions:
- Mix 1 cup of clear glue and 1 cup of liquid starch until it forms slime.
- Stir in a generous amount of blue glitter.
- Optional: Add small foam snowflakes for texture.
3. Anna and Elsa Paper Bookmarks
A craft for Frozen-loving bookworms. Use these creative DIY character bookmarks for kids to make story time even more magical.
- Materials: Printable template, colored paper, popsicle sticks, markers, glue, scissors.
- Instructions:
- Download and print a Frozen-themed Anna and Elsa template.
- Trace patterns onto colored paper for their dresses and hair, and cut out the designs.
- Glue the dress pieces together, attach them to popsicle sticks, and draw details like facial features with markers.
- Add optional glitter or sequins for extra sparkle.
4. Frozen-Inspired Snow Globe
Frozen winter crafts for preschoolers.Turn a simple sensory bottle craft into a snowy Arendelle scene into a whimsical snow globe!
- Materials: Plastic plates, foam beads, cardstock, glue gun.
- Instructions:
- Print and cut a Frozen-themed backdrop, ensuring it fits the clear plate.
- Place foam beads onto the snowy scene for a 3D effect.
- Secure the plate over the backdrop using glue.
- Shake to see the snowflakes dance!
5. No-Sew Elsa Cape
Frozen-inspired costume for kids. Bring Elsa’s style to life with a quick DIY dress-up idea that’s an easy-to-make cape, no sewing required.
- Materials: Blue fabric, silver ribbon, adhesive glitter snowflakes.
- Instructions:
- Cut a large rectangle of blue fabric for the cape.
- Attach silver ribbon at the ends for ties.
- Decorate with glitter snowflakes or adhesive gems in icy patterns.
6. DIY Party Wands Inspired by Frozen
Create magical Frozen wands for playtime or parties with this Frozen-themed princess DIY wands tutorial for kids parties.
- Materials: Wooden dowels, blue and silver ribbons, glitter, foam stars.
- Instructions:
- Paint wooden dowels blue and let them dry.
- Attach silver ribbons to one end with glue.
- Decorate foam stars with sparkles and fix them atop the dowels.
7. Elsa’s Frozen Paper Snowflakes
Create a blizzard indoors with these magical DIY Elsa snowflakes! Great winter crafts for kids.
- Materials: White, blue, or silver paper, scissors, glitter glue, markers.
- Instructions:
- Fold a square of paper in half diagonally several times.
- Draw snowflake patterns using a pencil.
- Carefully cut out the designs along the folds.
- Unfold to reveal unique snowflakes.
- Decorate with glitter glue and blue markers to add icy details.
8. Frozen-Inspired Beaded Friendship Bracelets
Make “friendship bracelets” inspired by Anna and Elsa’s strong bond! Easy DIY jewelry for kids.
- Materials: Blue, white, and purple beads, elastic cord, snowflake charms, scissors.
- Instructions:
- Cut elastic cord to fit your wrist.
- Thread on beads, alternating colors for a Frozen look.
- Add a snowflake charm as a centerpiece.
- Tie the bracelet securely and trim any extra cord.
9. DIY Frozen Crown Headband
Be the Snow Queen or Princess Anna with your very own crown!
- Materials: Blue and white felt, glitter paper, plastic gems, simple headband, hot glue gun.
- Instructions:
- Cut crown shapes from blue felt and accent pieces from glitter paper.
- Glue felt shapes onto the headband to form a crown.
- Decorate with plastic gems and additional glitter for sparkle.
10. Frozen Castle Tissue Box Cover
Turn an ordinary tissue box into a upcycled craft of magical Frozen castle for kids!
- Materials: Empty tissue box, construction paper, glue, scissors, markers, self-adhesive gems.
- Instructions:
- Wrap the tissue box with blue construction paper.
- Cut out and glue towers, windows, and snowy patterns from white and silver paper.
- Add gems and draw icy details to complete the castle look.
11. Olaf Sock Snowman
Make a no-sew Olaf plush tutorial using just a sock!
- Materials: White sock, rice or stuffing, rubber bands, black and orange felt, googly eyes, glue.
- Instructions:
- Fill the sock with rice and tie off sections with rubber bands to form Olaf’s head and body.
- Cut felt pieces for Olaf’s nose, arms, and buttons.
- Attach eyes, nose, and buttons using glue.
- Draw a big smile for Olaf!
12. Frozen Ice Painting Activity
Paint with colored ice cubes for a unique, Frozen-inspired art project!
- Materials: Ice cube tray, food coloring, craft sticks, white paper.
- Instructions:
- Pour water into the tray and add drops of blue, purple, and silver food coloring.
- Insert craft sticks and freeze overnight.
- Pop out the colored ice cubes and use them to paint on white paper, creating icy designs as the colors melt.
13. Snowflake Window Clings
Make your windows sparkle with frosty snowflake designs! These reusable DIY clings are perfect for winter décor or Frozen-themed parties.
- Materials: Clear hot glue sticks, a hot glue gun, silicone mat or parchment paper, glitter, scissors.
- SEO-Friendly Instructions:
- Preheat your hot glue gun and place a silicone mat on your work surface to prevent sticking.
- Draw snowflake patterns directly onto the mat using the glue gun. Create detailed designs with thin glue lines to mimic icy snowflakes.
- While the glue is still warm, sprinkle glitter over the designs.
- Let the snowflakes cool and harden completely, then peel them off the mat.
- Stick the snowflakes to windows using a small dab of water for a frosty look.
14. Frozen Olaf Cork Snowman
Turn wine corks into adorable mini Olaf snowmen for table decoration or playtime fun!
- Materials: Wine corks, white paint, googly eyes, orange clay or felt, black and brown pipe cleaners, glue.
- SEO-Friendly Instructions:
- Paint the wine corks white to make Olaf’s body and allow them to fully dry.
- Cut small lengths of black pipe cleaner for buttons and attach them to the cork using glue.
- Glue on googly eyes and a small orange clay piece or felt cutout for Olaf’s carrot nose.
- Add brown pipe cleaners for arms by poking them into the cork securely.
- Stack two corks vertically for a complete Olaf figure.
15.Snowflake Bath Bombs
Transform bath time into a Frozen-inspired spa experience with these snowflake bath bombs!
- Materials: Baking soda, citric acid, corn starch, Epsom salt, essential oils (like lavender or peppermint), blue food coloring, snowflake molds.
- SEO-Friendly Instructions:
- Combine 1 cup of baking soda, ½ cup of citric acid, ½ cup of corn starch, and ½ cup of Epsom salt in a mixing bowl.
- Add 10 drops of your favorite essential oil and a small amount of blue food coloring. Mix thoroughly.
- Spritz with water while stirring until the mixture reaches a clumpy sand-like consistency.
- Firmly pack the mixture into snowflake molds and let them dry overnight.
- Gently remove the bath bombs from the molds and package them in clear plastic wrapping for gifts.
16.Anna and Elsa Story Stones
Bring Frozen stories to life with custom painted story stones—perfect for creative play or educational activities.
- Materials: Smooth river stones, acrylic paints, permanent markers, paintbrushes, clear sealer spray.
- SEO-Friendly Instructions:
- Wash and dry the stones thoroughly to ensure paint adheres properly.
- Sketch simple outlines of Elsa, Anna, Olaf, or other Frozen characters onto each rock with a pencil.
- Use acrylic paints to carefully fill in colors, adding dresses, faces, and accessories.
- Once paint is dry, outline details with fine-tip permanent markers for definition.
- Finish with a coat of clear sealer spray to protect your artwork and make your stones kid-friendly and durable.
- Use the completed story stones as props to retell favorite scenes from the Frozen movies or invent your own adventures!
